Get Started on Phala Cloud with CLI
2025-03-26
As a developer, you're likely familiar with the power and convenience of command-line interfaces (CLIs) for managing cloud resources. Whether you've used GCP for Google Cloud Platform, AWS for Amazon Web Services, or AZ for Microsoft Azure, you know how these tools streamline deployment and management processes. Now, imagine harnessing that same efficiency for confidential cloud deployments.
Enter the Phala Cloud CLI, your new go-to tool for managing privacy-preserving computations and AI agents on Phala Cloud. Just like its counterparts in the traditional cloud space, Phala Cloud CLI offers a robust set of commands to deploy, manage, and monitor your applications. The key difference? Every operation you perform is backed by Phala's Trusted Execution Environment (TEE), ensuring unparalleled security and privacy for your sensitive workloads.
In this guide, we'll walk you through getting started with Phala Cloud CLI. Whether you're a seasoned cloud architect or new to confidential computing, you'll find the syntax and workflow comfortably familiar. By the end of this tutorial, you'll be equipped to leverage the power of Phala Cloud for your next privacy-critical project, all from the command line you know and love.
Let's dive in and explore how Phala Cloud CLI combines the ease of use you expect from cloud tools with the advanced security features that set Phala Network apart.
Section Breakdown
- Prerequisites
- Setup
- Exploring CLI
- Deploy Your First Confidential VM to Phala Cloud
- Build and Deploy a Confidential VM From Scratch
- Conclusion
Prerequisites
Before we begin, ensure you have the following tools and accounts set up:
- Node.js or Bun:
- Node.js: Install version 18 or later from nodejs.org
- OR
- Bun: Install the latest version from bun.sh
- Docker:
- Install Docker Desktop for your operating system from docker.com
- (Optional) Use OrbStack instead of Docker app.
- Ensure Docker is running on your machine
- Phala Cloud Account:
- Sign up for a free account at cloud.phala.network or open your terminal and run
npx phala free - Verify your email address and log in to your account
- (Optional) Git:
- While not strictly necessary for using the CLI, having Git installed will be helpful for version control and following along with example repositories.
- Install from git-scm.com
Once you have these prerequisites in place, you're ready to install and use the Phala Cloud CLI. Having these tools installed ensures you can seamlessly deploy and manage your confidential applications on Phala Cloud.
If you encounter any issues during setup, refer to our comprehensive documentation or reach out to our community support channels for assistance.
Setup
Now that you have the prerequisites in place, let's set up the Phala Cloud CLI and authenticate your account.
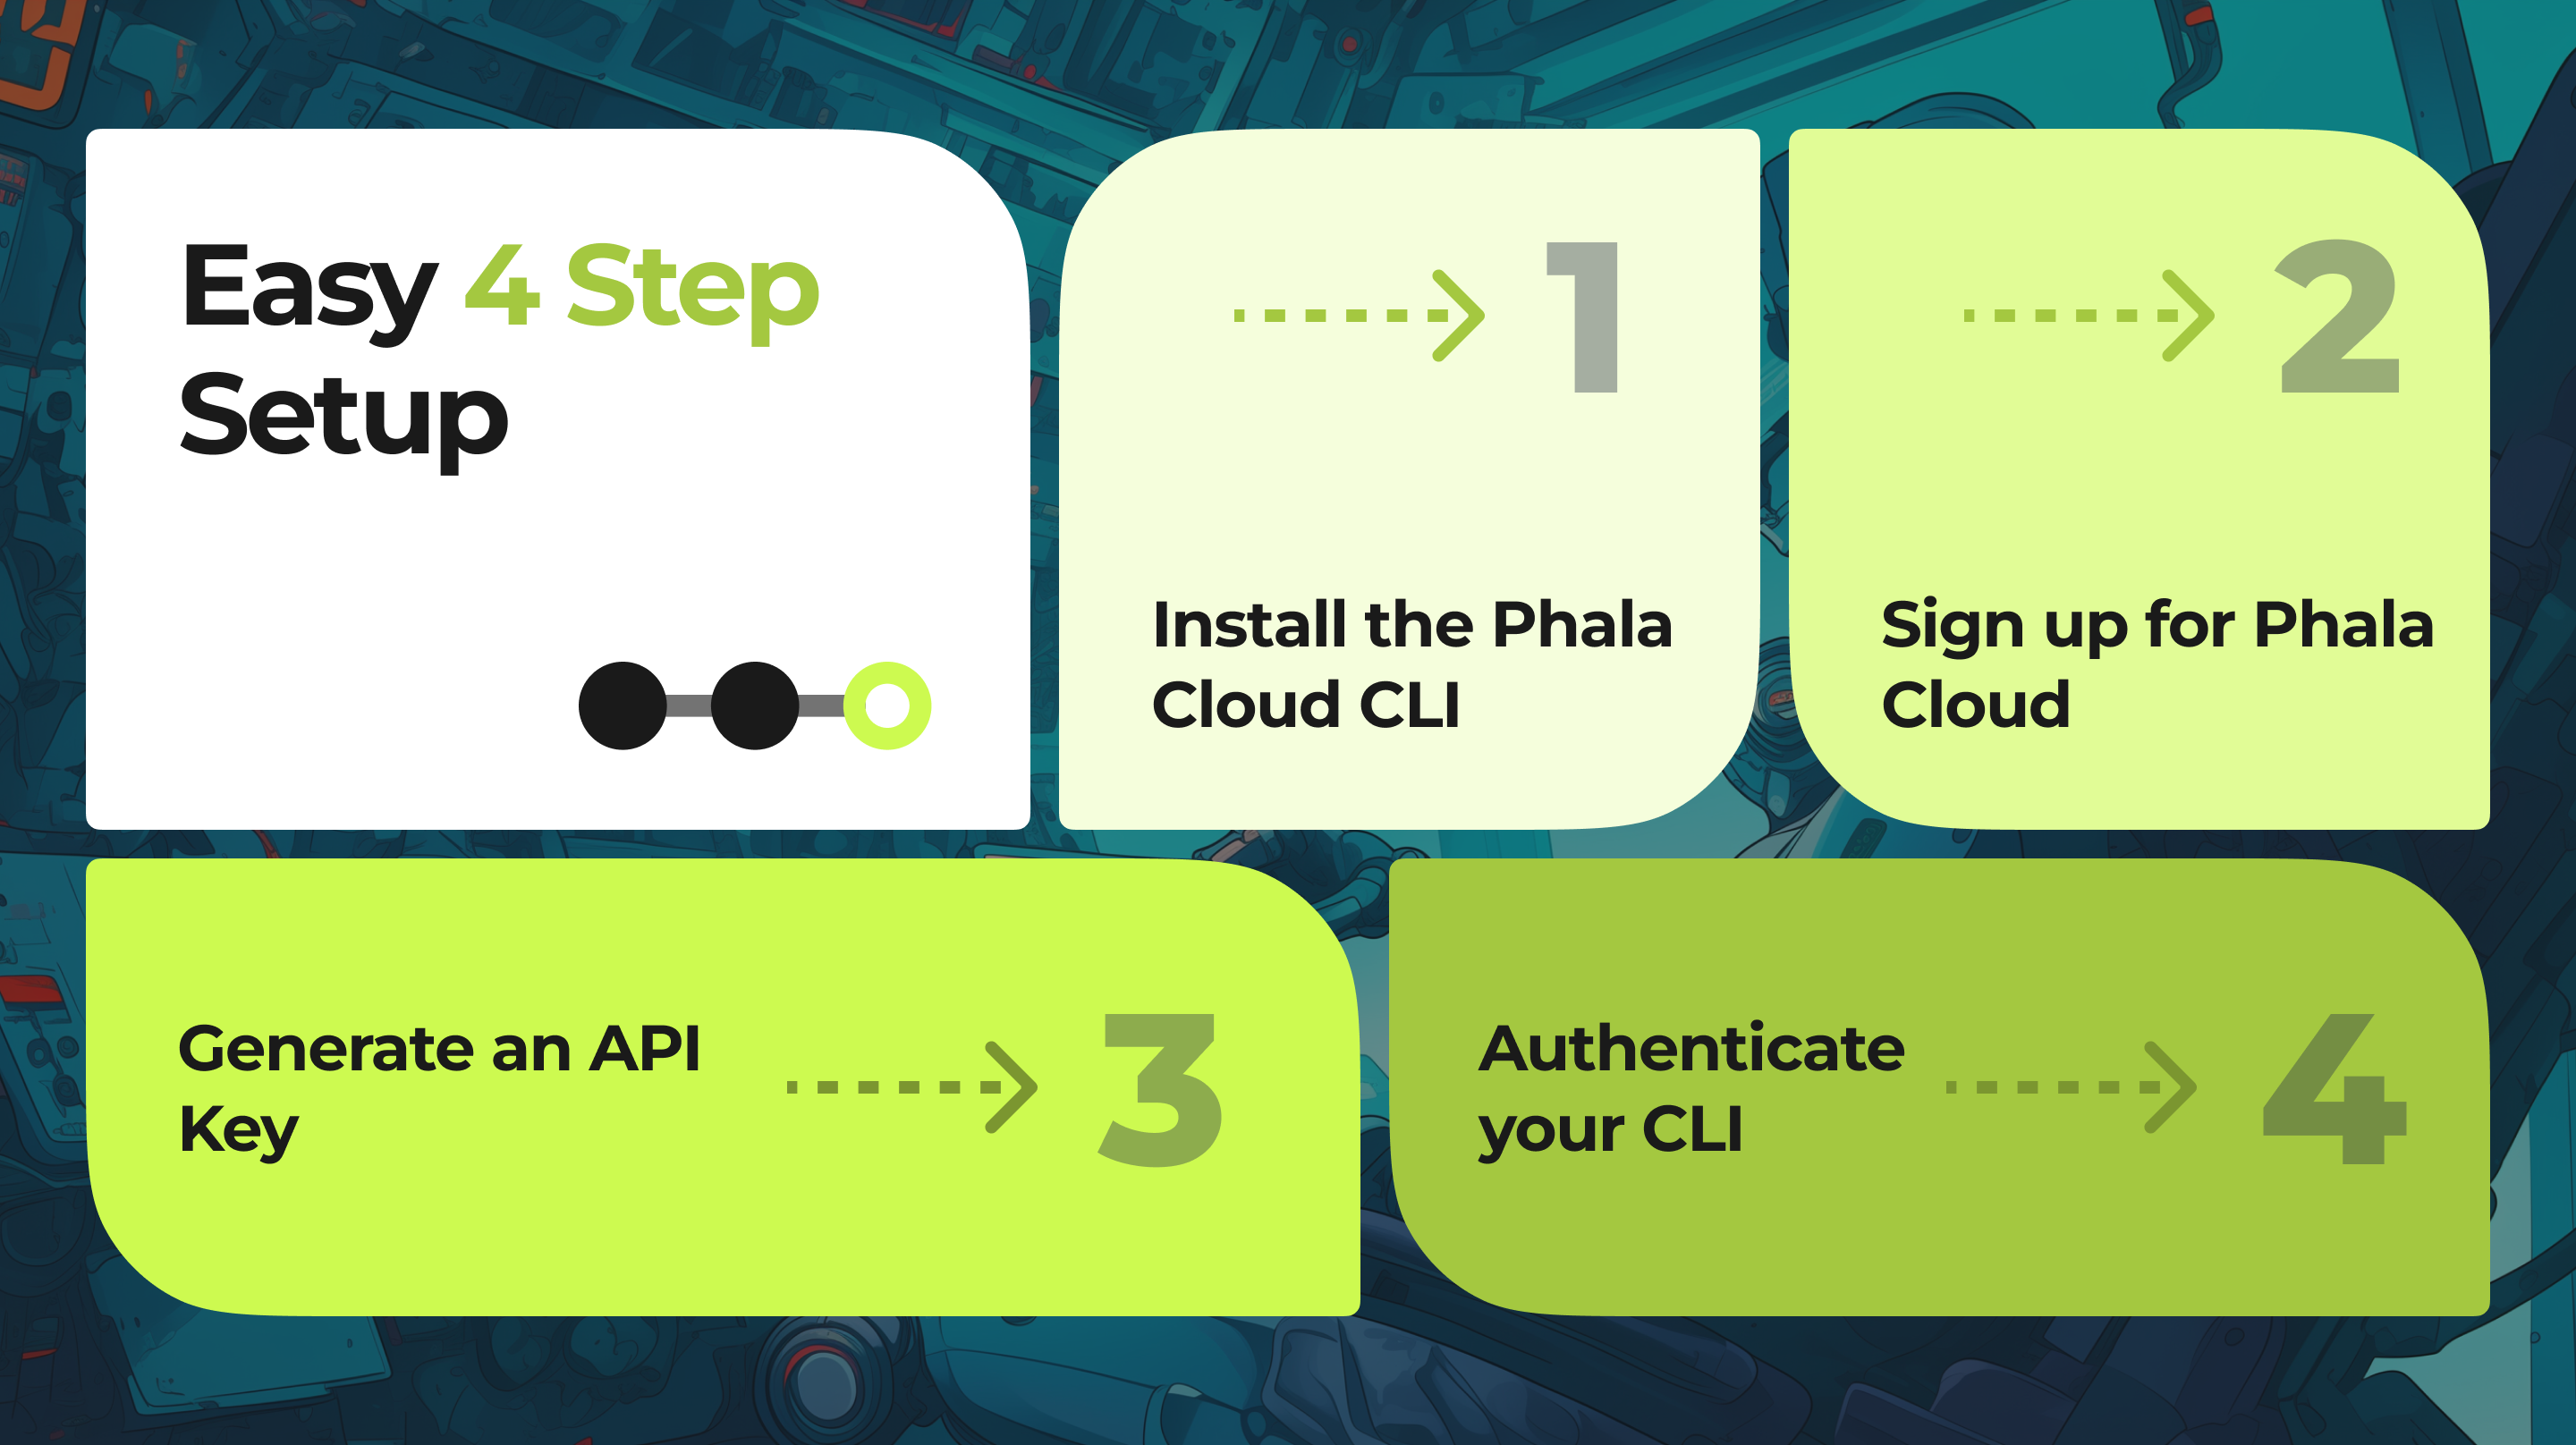
- Install the Phala Cloud CLI:
- Install globally (recommended for frequent use):
- Use without installation via
npxorbunx:
You have two options for using the Phala Cloud CLI:
npm install -g phala# npx
npx phala
# bunx
bunx phalaFor the rest of this guide, we'll assume you've installed the CLI globally. If you're using npx or bunx, simply prepend the commands with npx or bunx respectively.
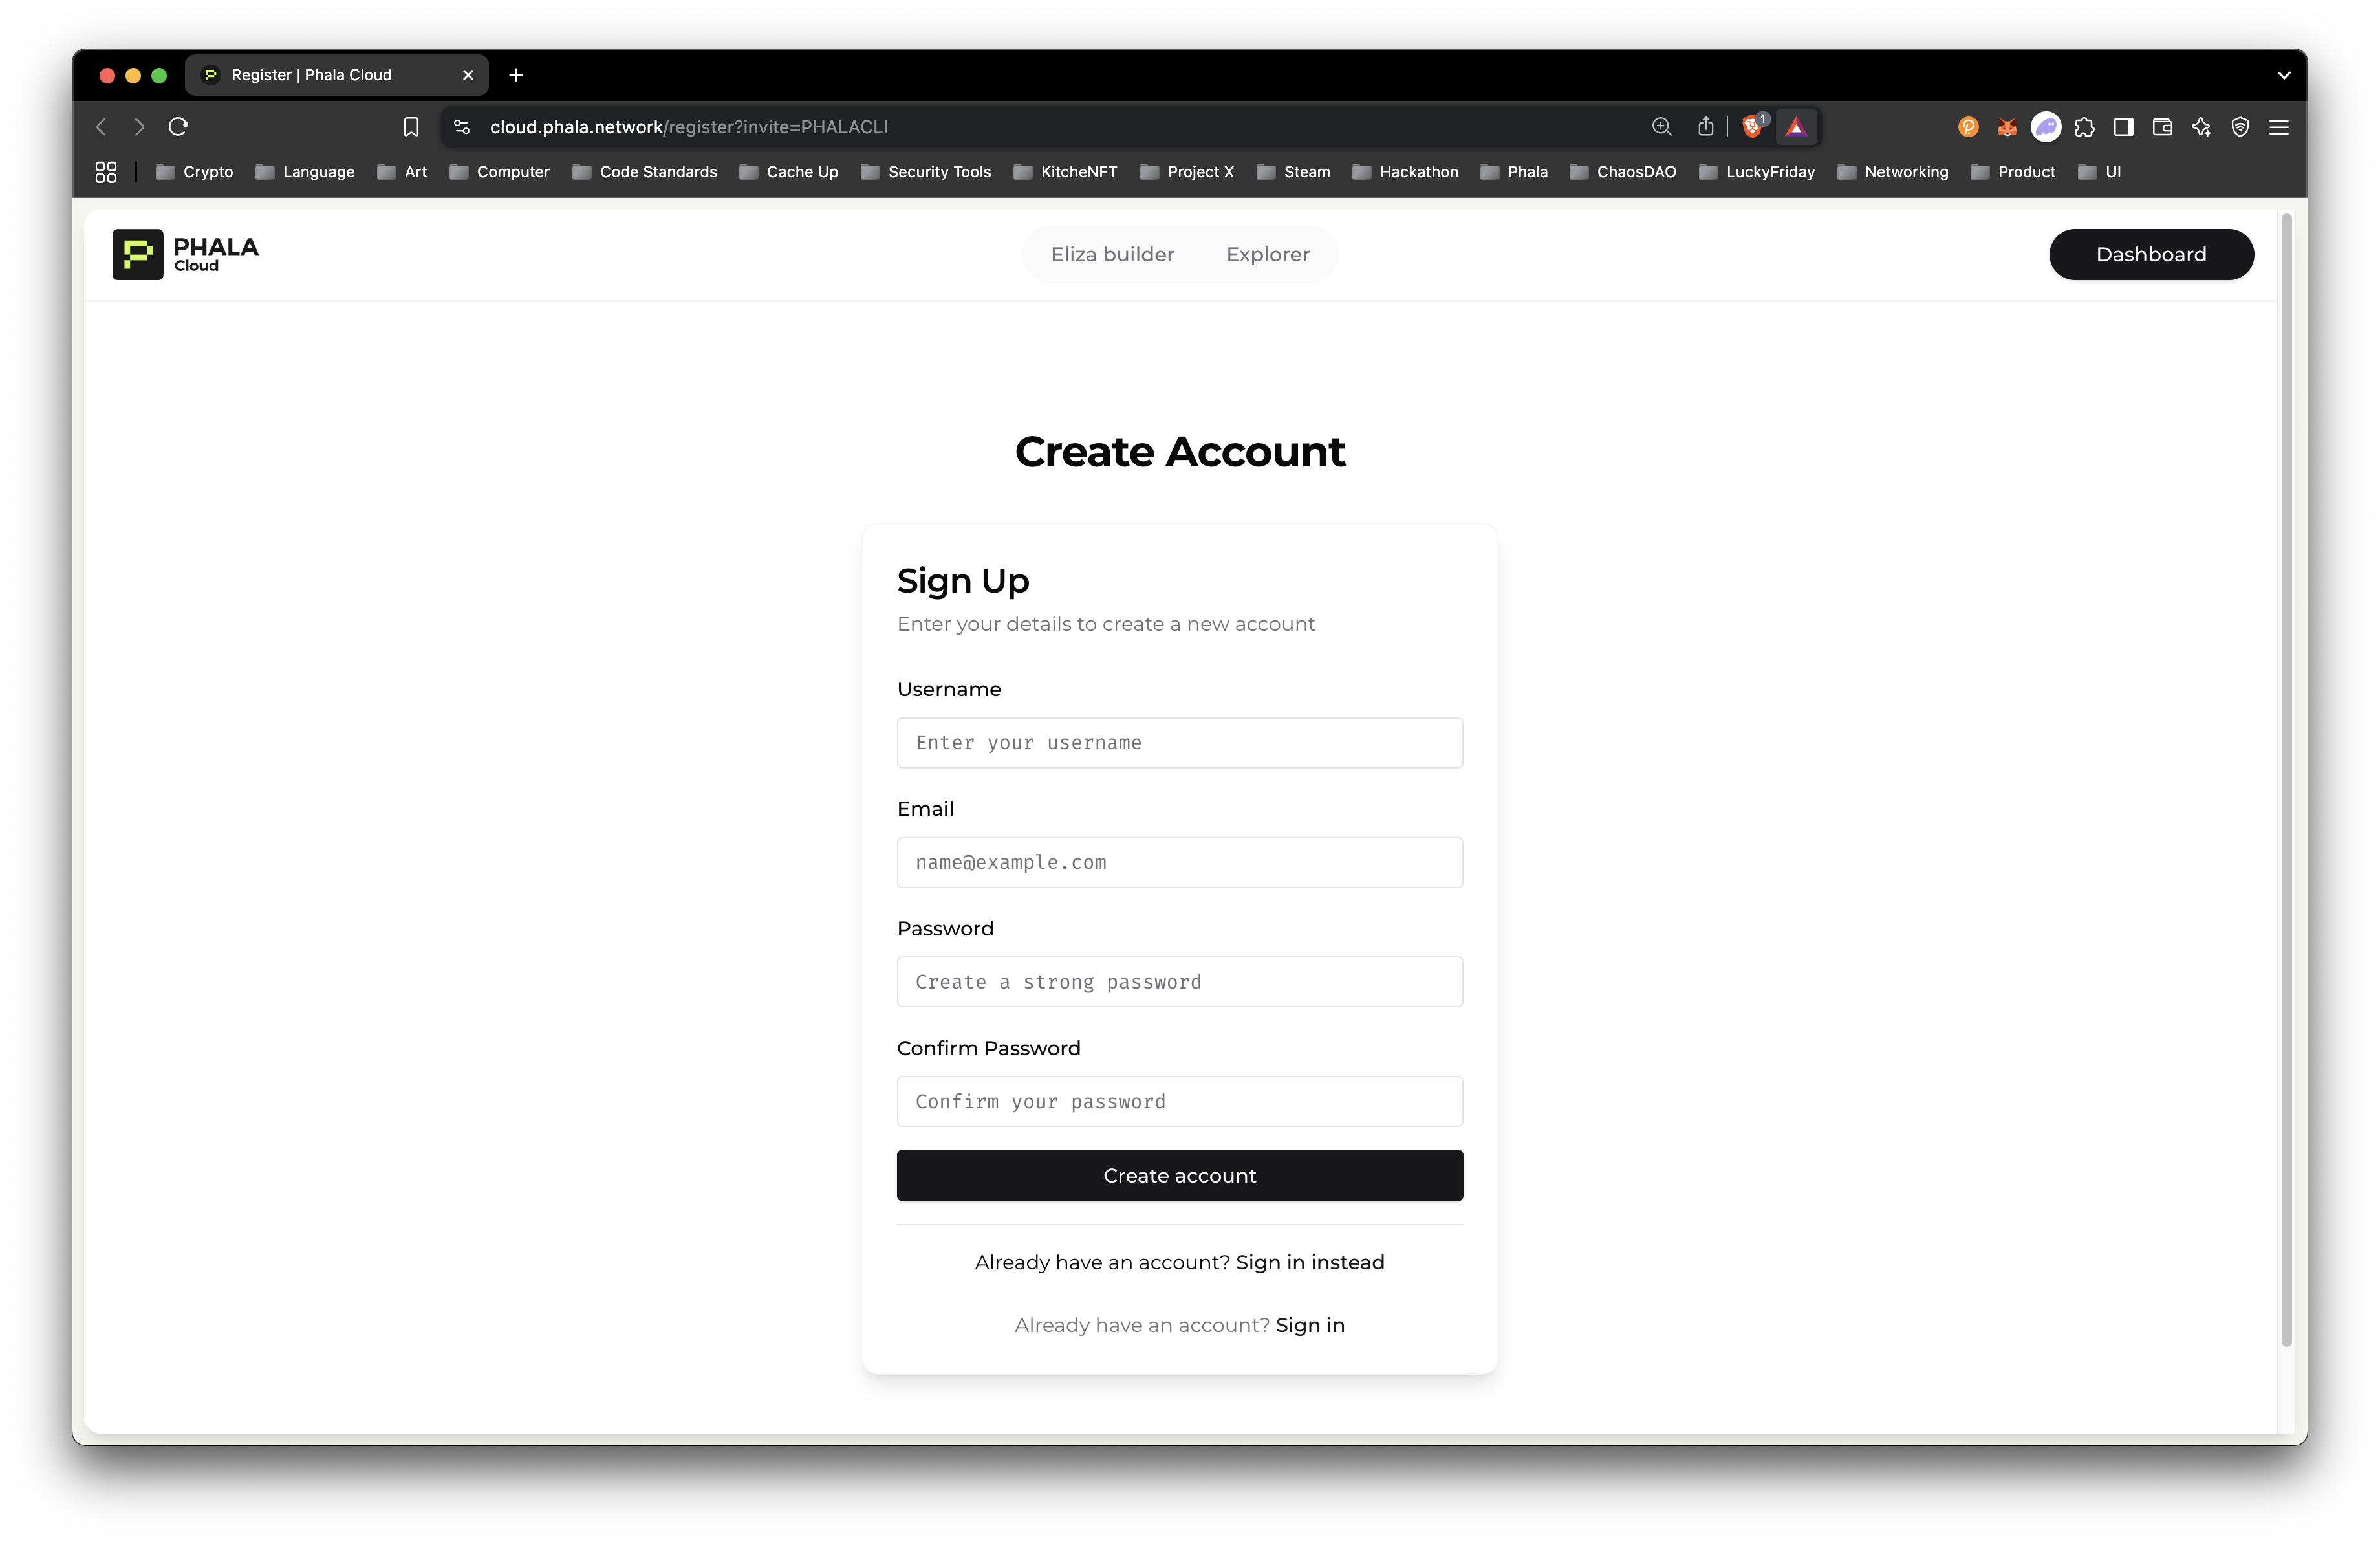
- Sign up for Phala Cloud:
If you haven't already created a Phala Cloud account, you can do so directly through the CLI:
# phala join
phala join
# alias command for join is 'free'
phala free
You will be redirected to a signup page to enter your email address and create a password. Once created, you will be able to enter your username and password to access your account.
- Generate an API Key:
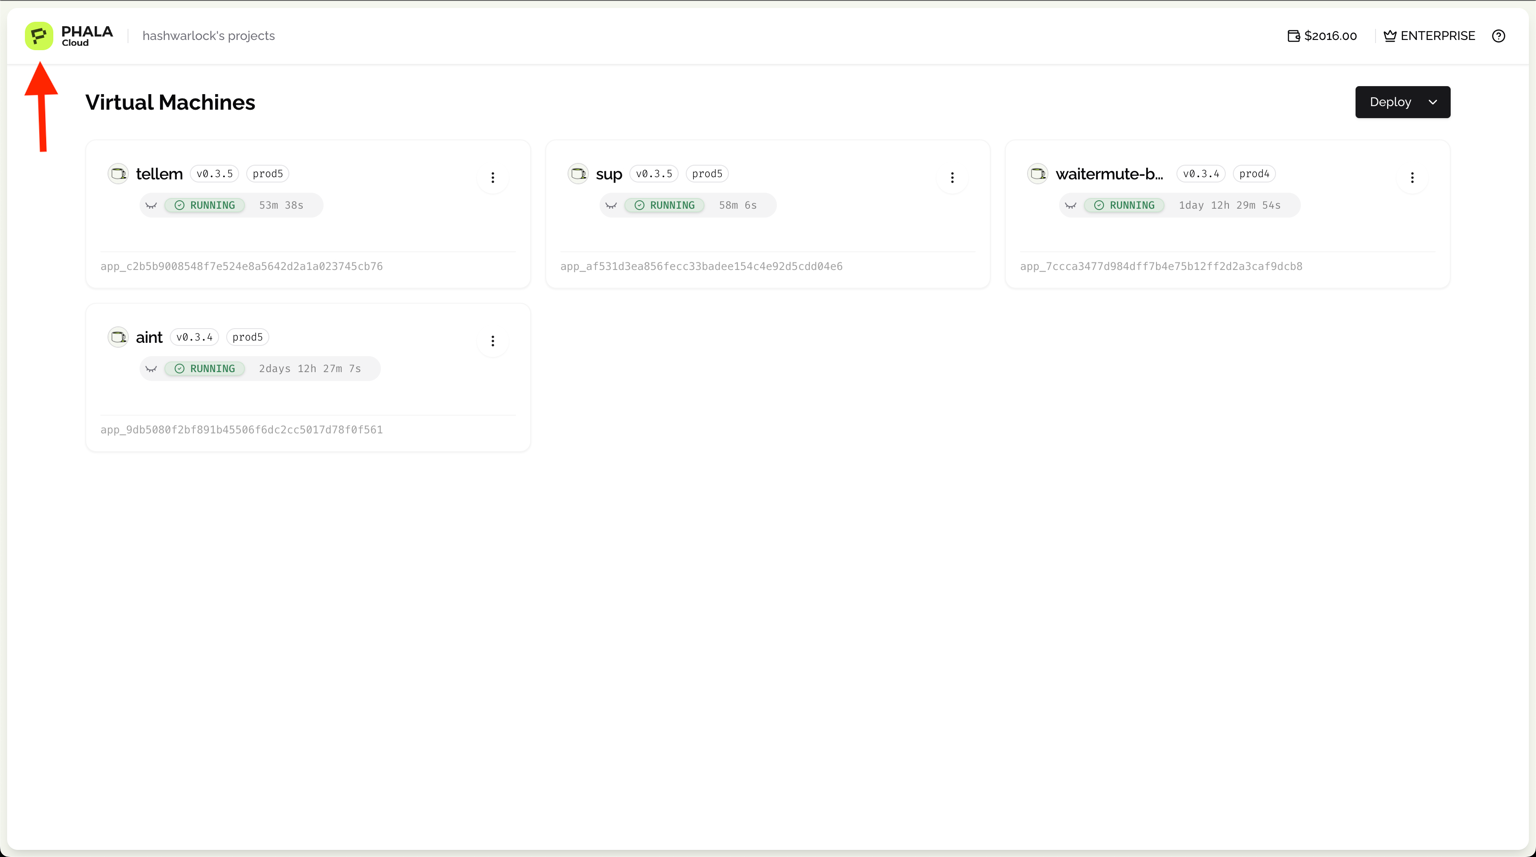
Once your account is created, log into your account and generate an API Key. First you will click the top left Phala “P” logo.
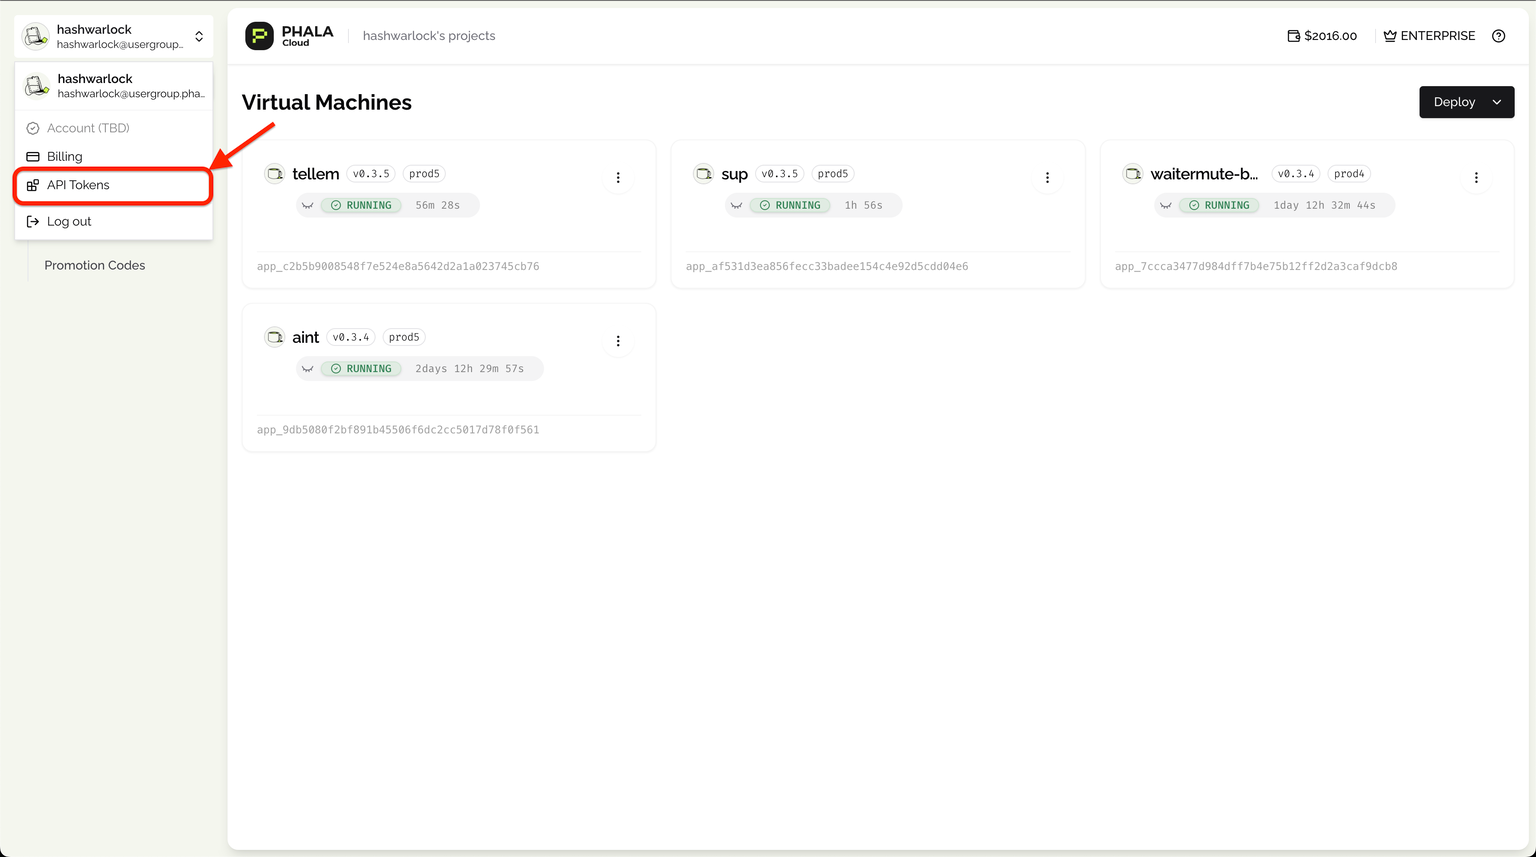
Next, select “API Tokens”.
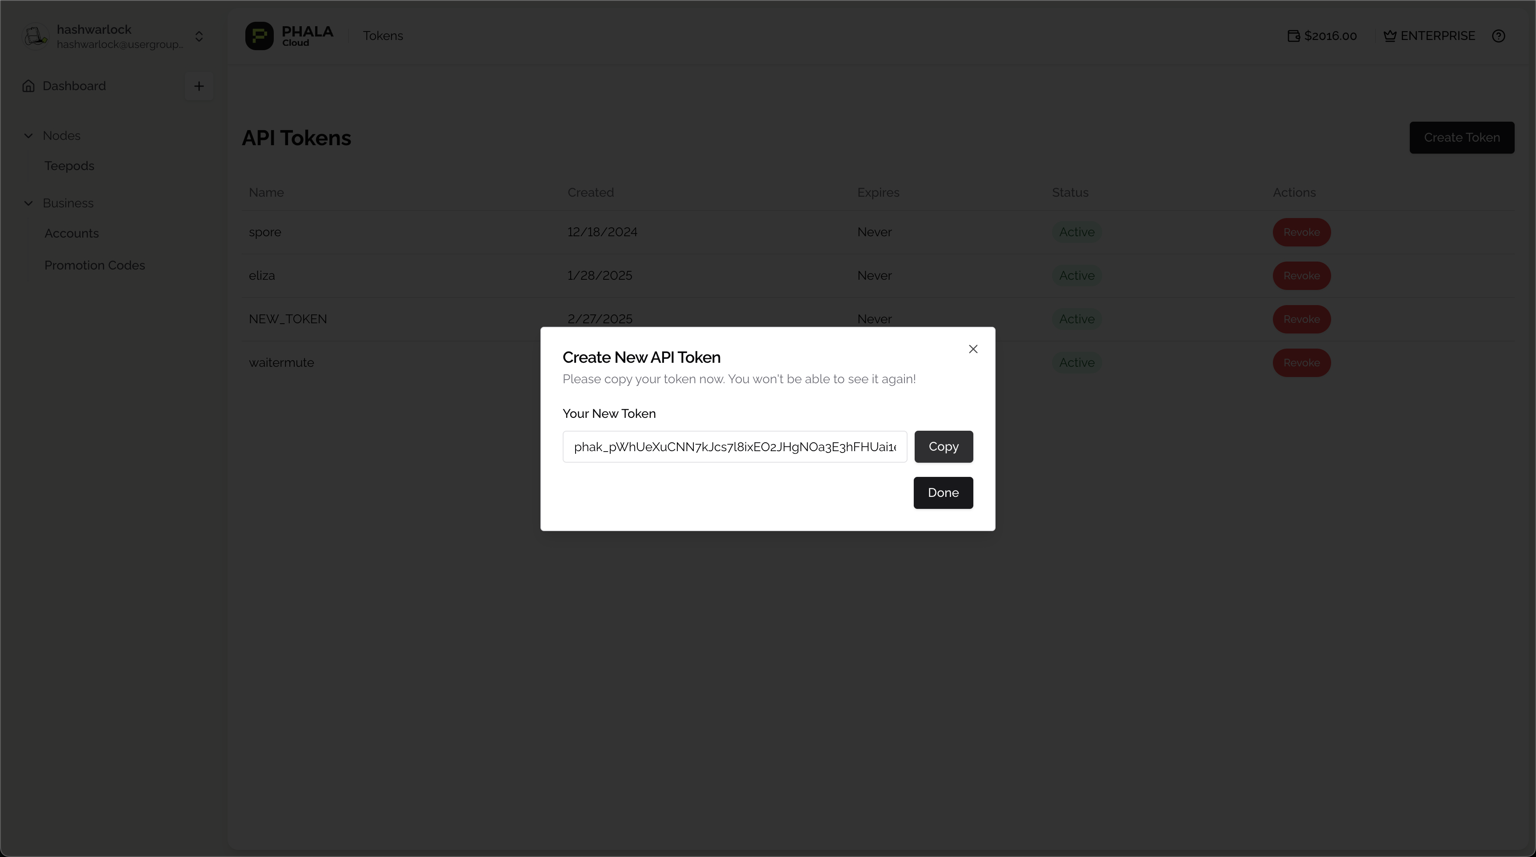
Then click “Create Token” to create a new API Key and the new key will display in your browser window. Make sure to copy this key and store it securely – you won't be able to see it again!
- Authenticate your CLI:
With your API Key in hand, authenticate your CLI:
phala auth loginWhen prompted, paste your API Key. The CLI will confirm successful authentication.
phala auth login
✔ Enter your API key: … ************************************************
✓ Welcome hashwarlock! API key validated and saved successfully

ℹ Open in Web UI at https://cloud.phala.network/dashboard/
Congratulations! You've now set up the Phala Cloud CLI and authenticated your account. You're ready to start deploying and managing confidential applications on Phala Cloud.
Remember, you can always check your authentication status with:
phala auth status⟳ Checking authentication status... ✓
✓ Authenticated as hashwarlock
╭────────────┬────────────────────────────────────────╮
├────────────┼────────────────────────────────────────┤
│ Username │ hashwarlock │
├────────────┼────────────────────────────────────────┤
│ Email │ [email protected] │
├────────────┼────────────────────────────────────────┤
│ Role │ admin │
├────────────┼────────────────────────────────────────┤
│ Team │ hashwarlock's projects (enterprise) │
├────────────┼────────────────────────────────────────┤
│ Credits │ $20 │
╰────────────┴────────────────────────────────────────╯And if you need to log out or switch accounts:
phala auth logout
# ✓ API key removed successfully.
In the next section, we'll explore some basic commands to help you get familiar with the Phala Cloud CLI's capabilities.
Exploring the CLI
The Phala Cloud CLI offers a rich set of commands to manage your confidential computing environment. Let's explore the main command categories and their functions:
- Authentication Commands (auth):
phala auth login: Authenticate your CLI sessionphala auth logout: End your current CLI sessionphala auth status: Check your current authentication status
- Confidential VM Management (cvms):
phala cvms create: Create a new confidential VMphala cvms delete: Remove a confidential VMphala cvms get: Retrieve details of a specific VMphala cvms list: Display all your confidential VMsphala cvms resize: Adjust the resources of a VMphala cvms restart: Reboot a confidential VMphala cvms start: Power on a stopped VMphala cvms stop: Shut down a running VMphala cvms upgrade: Update the VM's software or configurationphala cvms attestation: Verify the integrity of a VM's trusted execution environment
- Docker Integration (docker):
phala docker build: Build a Docker image for Phala Cloudphala docker generate: Create Docker compose templates for Phala Cloudphala docker login: Authenticate with Phala's container registryphala docker push: Upload your Docker image to Phala Cloud
- Account Creation:
phala join: Sign up for a new Phala Cloud account
- Local Development (simulator):
phala simulator start: Launch a local Phala TEE (Trusted Execution Environment) simulator for testingphala simulator stop: Shut down the local Phala TEE (Trusted Execution Environment) simulator
- Demo:
phala demo: Access quick start demos and examples like Jupyter Notebook or HTTPBin
These commands form the core of your interaction with Phala Cloud. Here are some common workflows you might use:
- To deploy a new confidential application:
phala docker buildto create your application imagephala docker pushto upload it to Phala Cloud- (optional)
phala docker generateto generate a Docker compose file to deploy to Phala Cloud phala cvms createto launch a new confidential CVM with your application
- To manage your running applications:
phala cvms listto see all your CVMsphala cvms get <cvm-id>to check a specific CVM's statusphala cvms stop <cvm-id>orphala cvms start <cvm-id>to control CVM statephala cvms upgrade <cvm-id>to upgrade the CVM
- For local development and testing:
phala simulator startto set up a local environment- Test your docker application locally
phala simulator stopwhen you're done
Remember, you can always use phala --help or append --help to any command for more detailed information about its usage and options.
In the next section, we'll walk through a practical example of deploying your first confidential application using these commands.
Deploy Your First Confidential VM to Phala Cloud
Now that you're familiar with the CLI commands, let's put them into practice by launching a Jupyter Notebook in a CVM.
The process is easy as we have setup a demo command for you to try this out quickly.
phala demoYou’ll have a list of demos to test, and we will try the Jupyter Notebook demo. This part of the guide is very simple. Run the command, sit back and watch the magic unfold.
phala demo
⟳ Verifying your credentials... ✓
✓ Logged in as hashwarlock
✔ Select a template to deploy: Jupyter Notebook
✓ Selected template: Jupyter Notebook
✔ Enter a name for your CVM: Jupyter-Notebook
ℹ Preparing to deploy your CVM...
⟳ Preparing CVM configuration... ✓
⟳ Creating your demo CVM... ✓
✓ Demo CVM created successfully! 🎉
╭─────────────────────┬───────────────────────────────────────────────────────────────────────────────────────────────────╮
├─────────────────────┼───────────────────────────────────────────────────────────────────────────────────────────────────┤
│ CVM ID │ 3751 │
├─────────────────────┼───────────────────────────────────────────────────────────────────────────────────────────────────┤
│ Name │ Jupyter-Notebook │
├─────────────────────┼───────────────────────────────────────────────────────────────────────────────────────────────────┤
│ Status │ creating │
├─────────────────────┼───────────────────────────────────────────────────────────────────────────────────────────────────┤
│ App ID │ app_ecc21474f89b47a8e33ecd4e53a0ed744fff4eb2 │
├─────────────────────┼───────────────────────────────────────────────────────────────────────────────────────────────────┤
│ App URL │ https://cloud.phala.network/dashboard/cvms/app_ecc21474f89b47a8e33ecd4e53a0ed744fff4eb2 │
├─────────────────────┼───────────────────────────────────────────────────────────────────────────────────────────────────┤
│ Template │ Jupyter Notebook │
├─────────────────────┼───────────────────────────────────────────────────────────────────────────────────────────────────┤
│ Resources │ 2 vCPUs, 2GB RAM, 20GB Storage │
├─────────────────────┼───────────────────────────────────────────────────────────────────────────────────────────────────┤
│ Jupyter Token │ e4d13458163d6b8314a9d976a55600ad │
├─────────────────────┼───────────────────────────────────────────────────────────────────────────────────────────────────┤
│ Access Instructions │ Access your Jupyter notebook using the token above. Go to 'Network' tab to see the public URL. │
╰─────────────────────┴───────────────────────────────────────────────────────────────────────────────────────────────────╯
✓ Your demo is being created. You can check its status with:
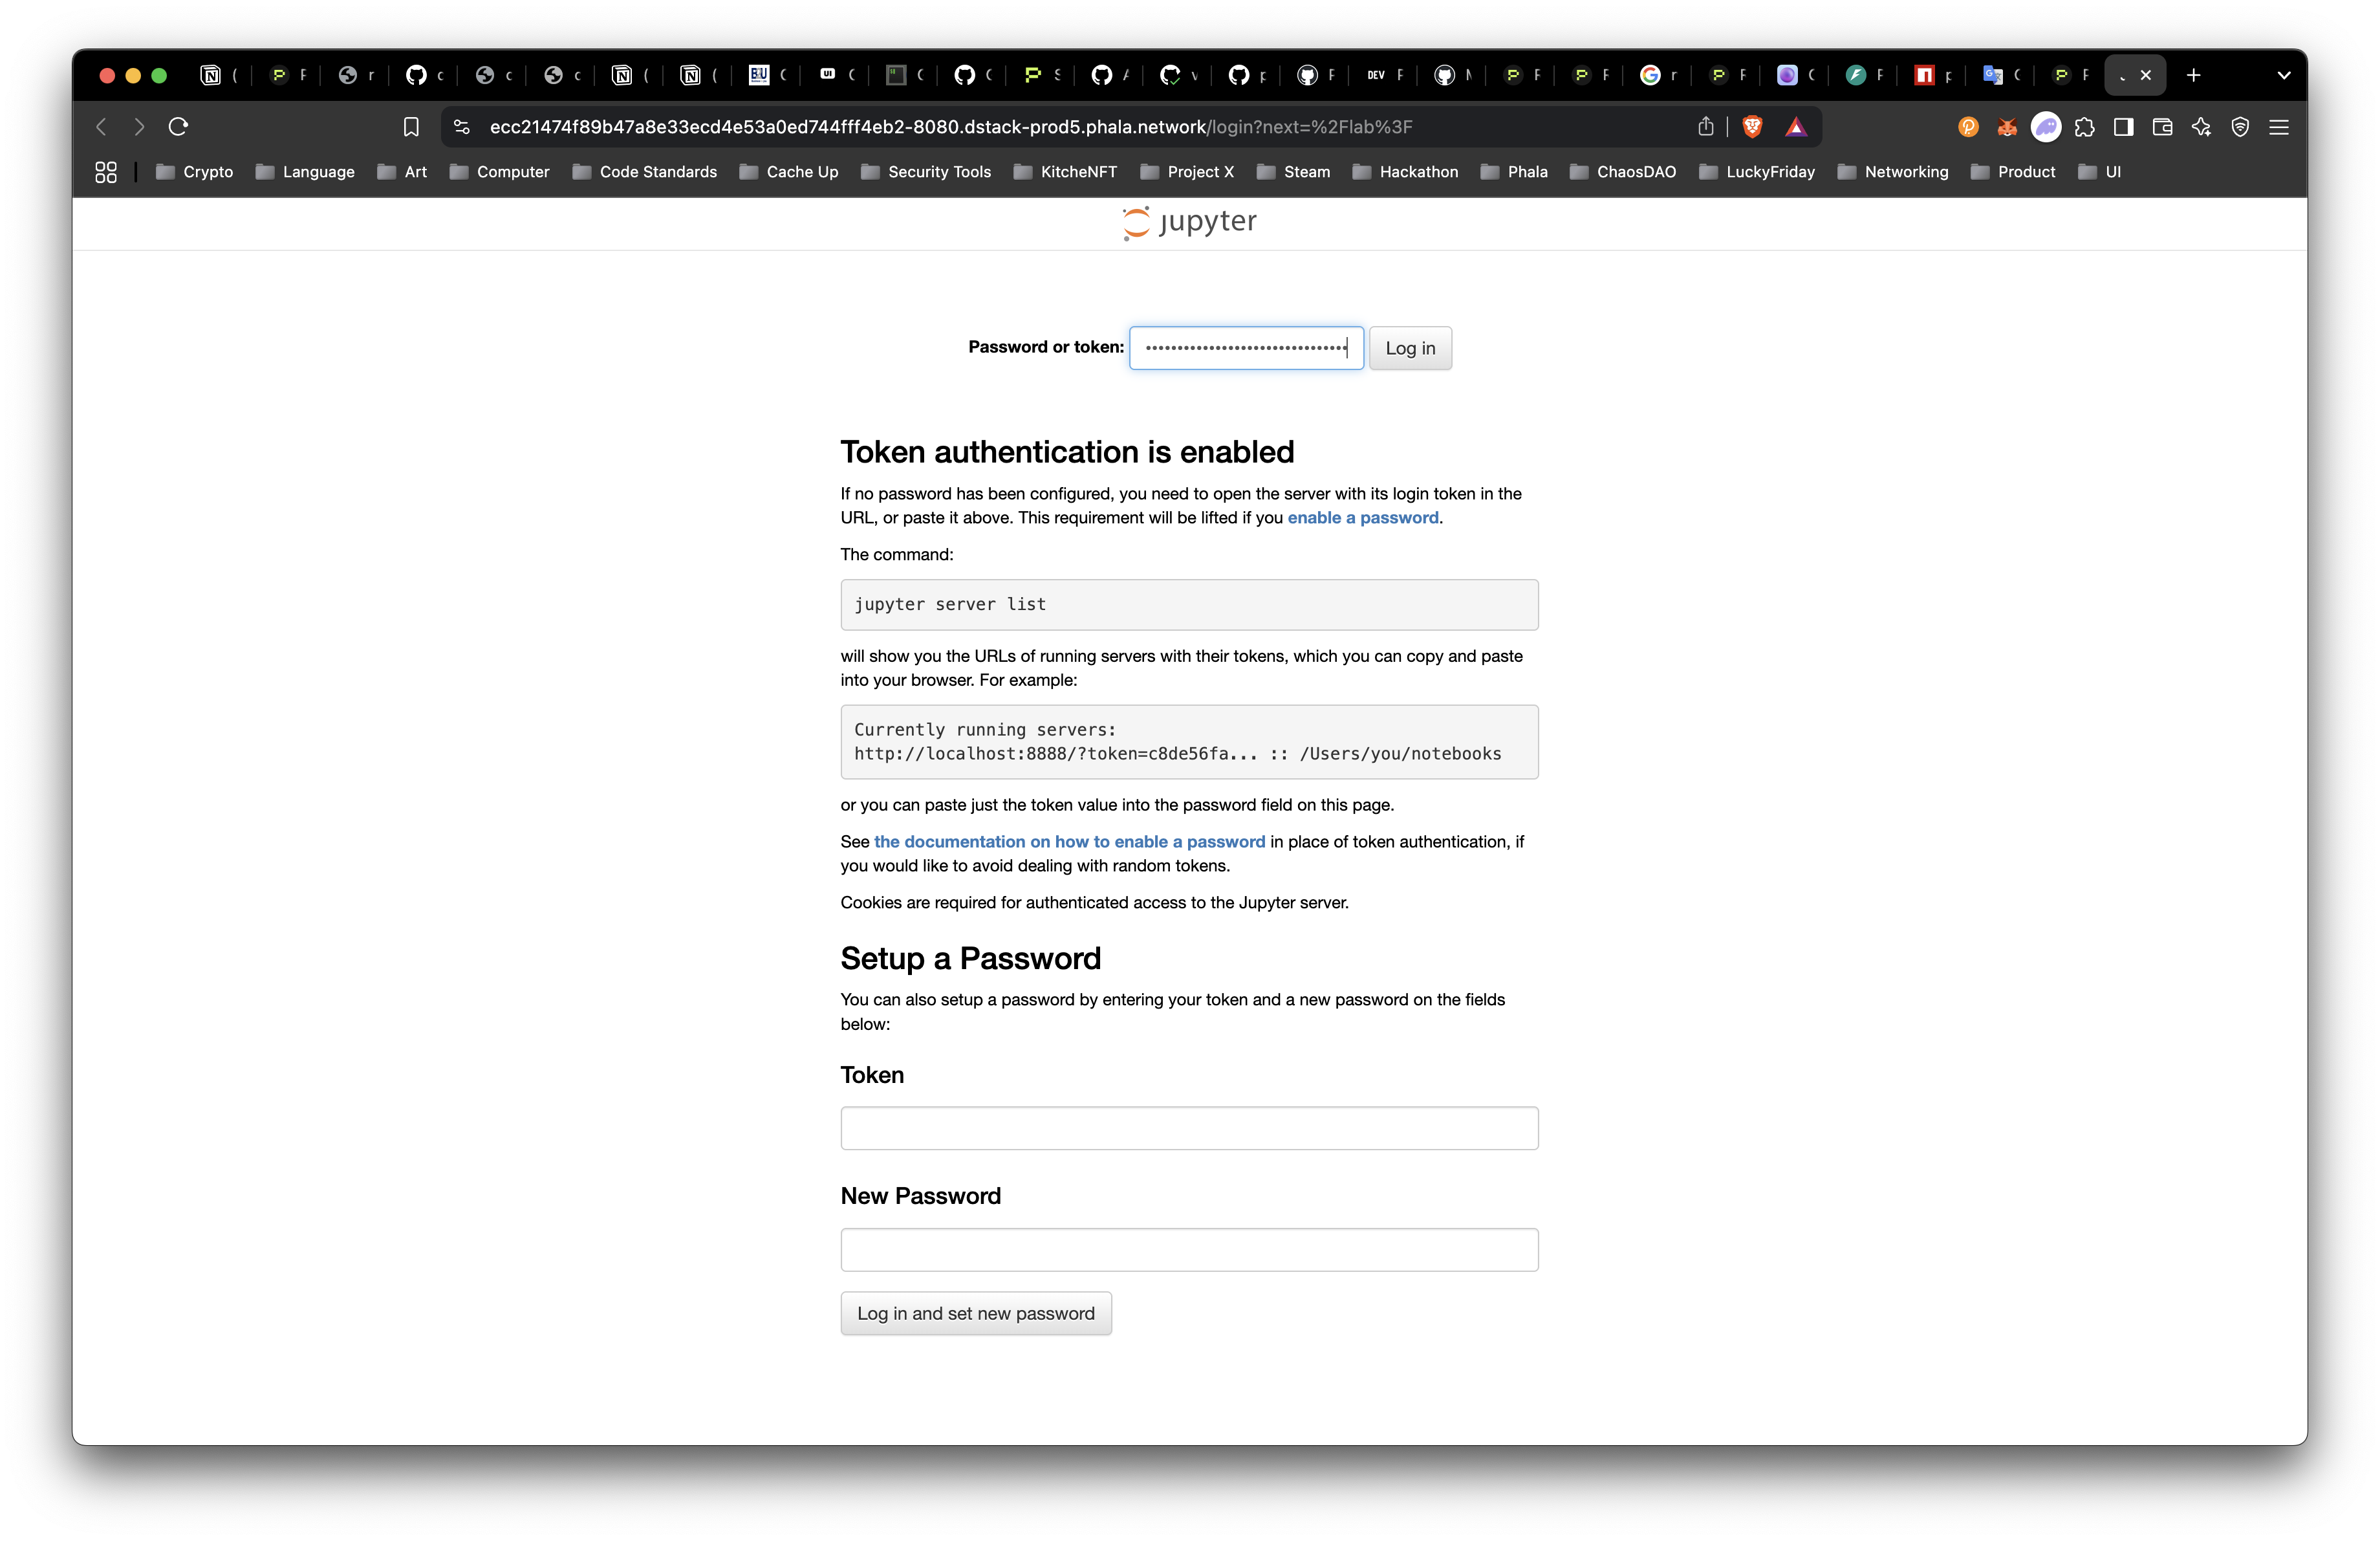
phala cvms get app_ecc21474f89b47a8e33ecd4e53a0ed744fff4eb2Congratulations! Your Jupyter Notebook is deployed! Let’s checkout the deployment and use the Jupyter Token to access our notebook. Go to the “Network” Tab:
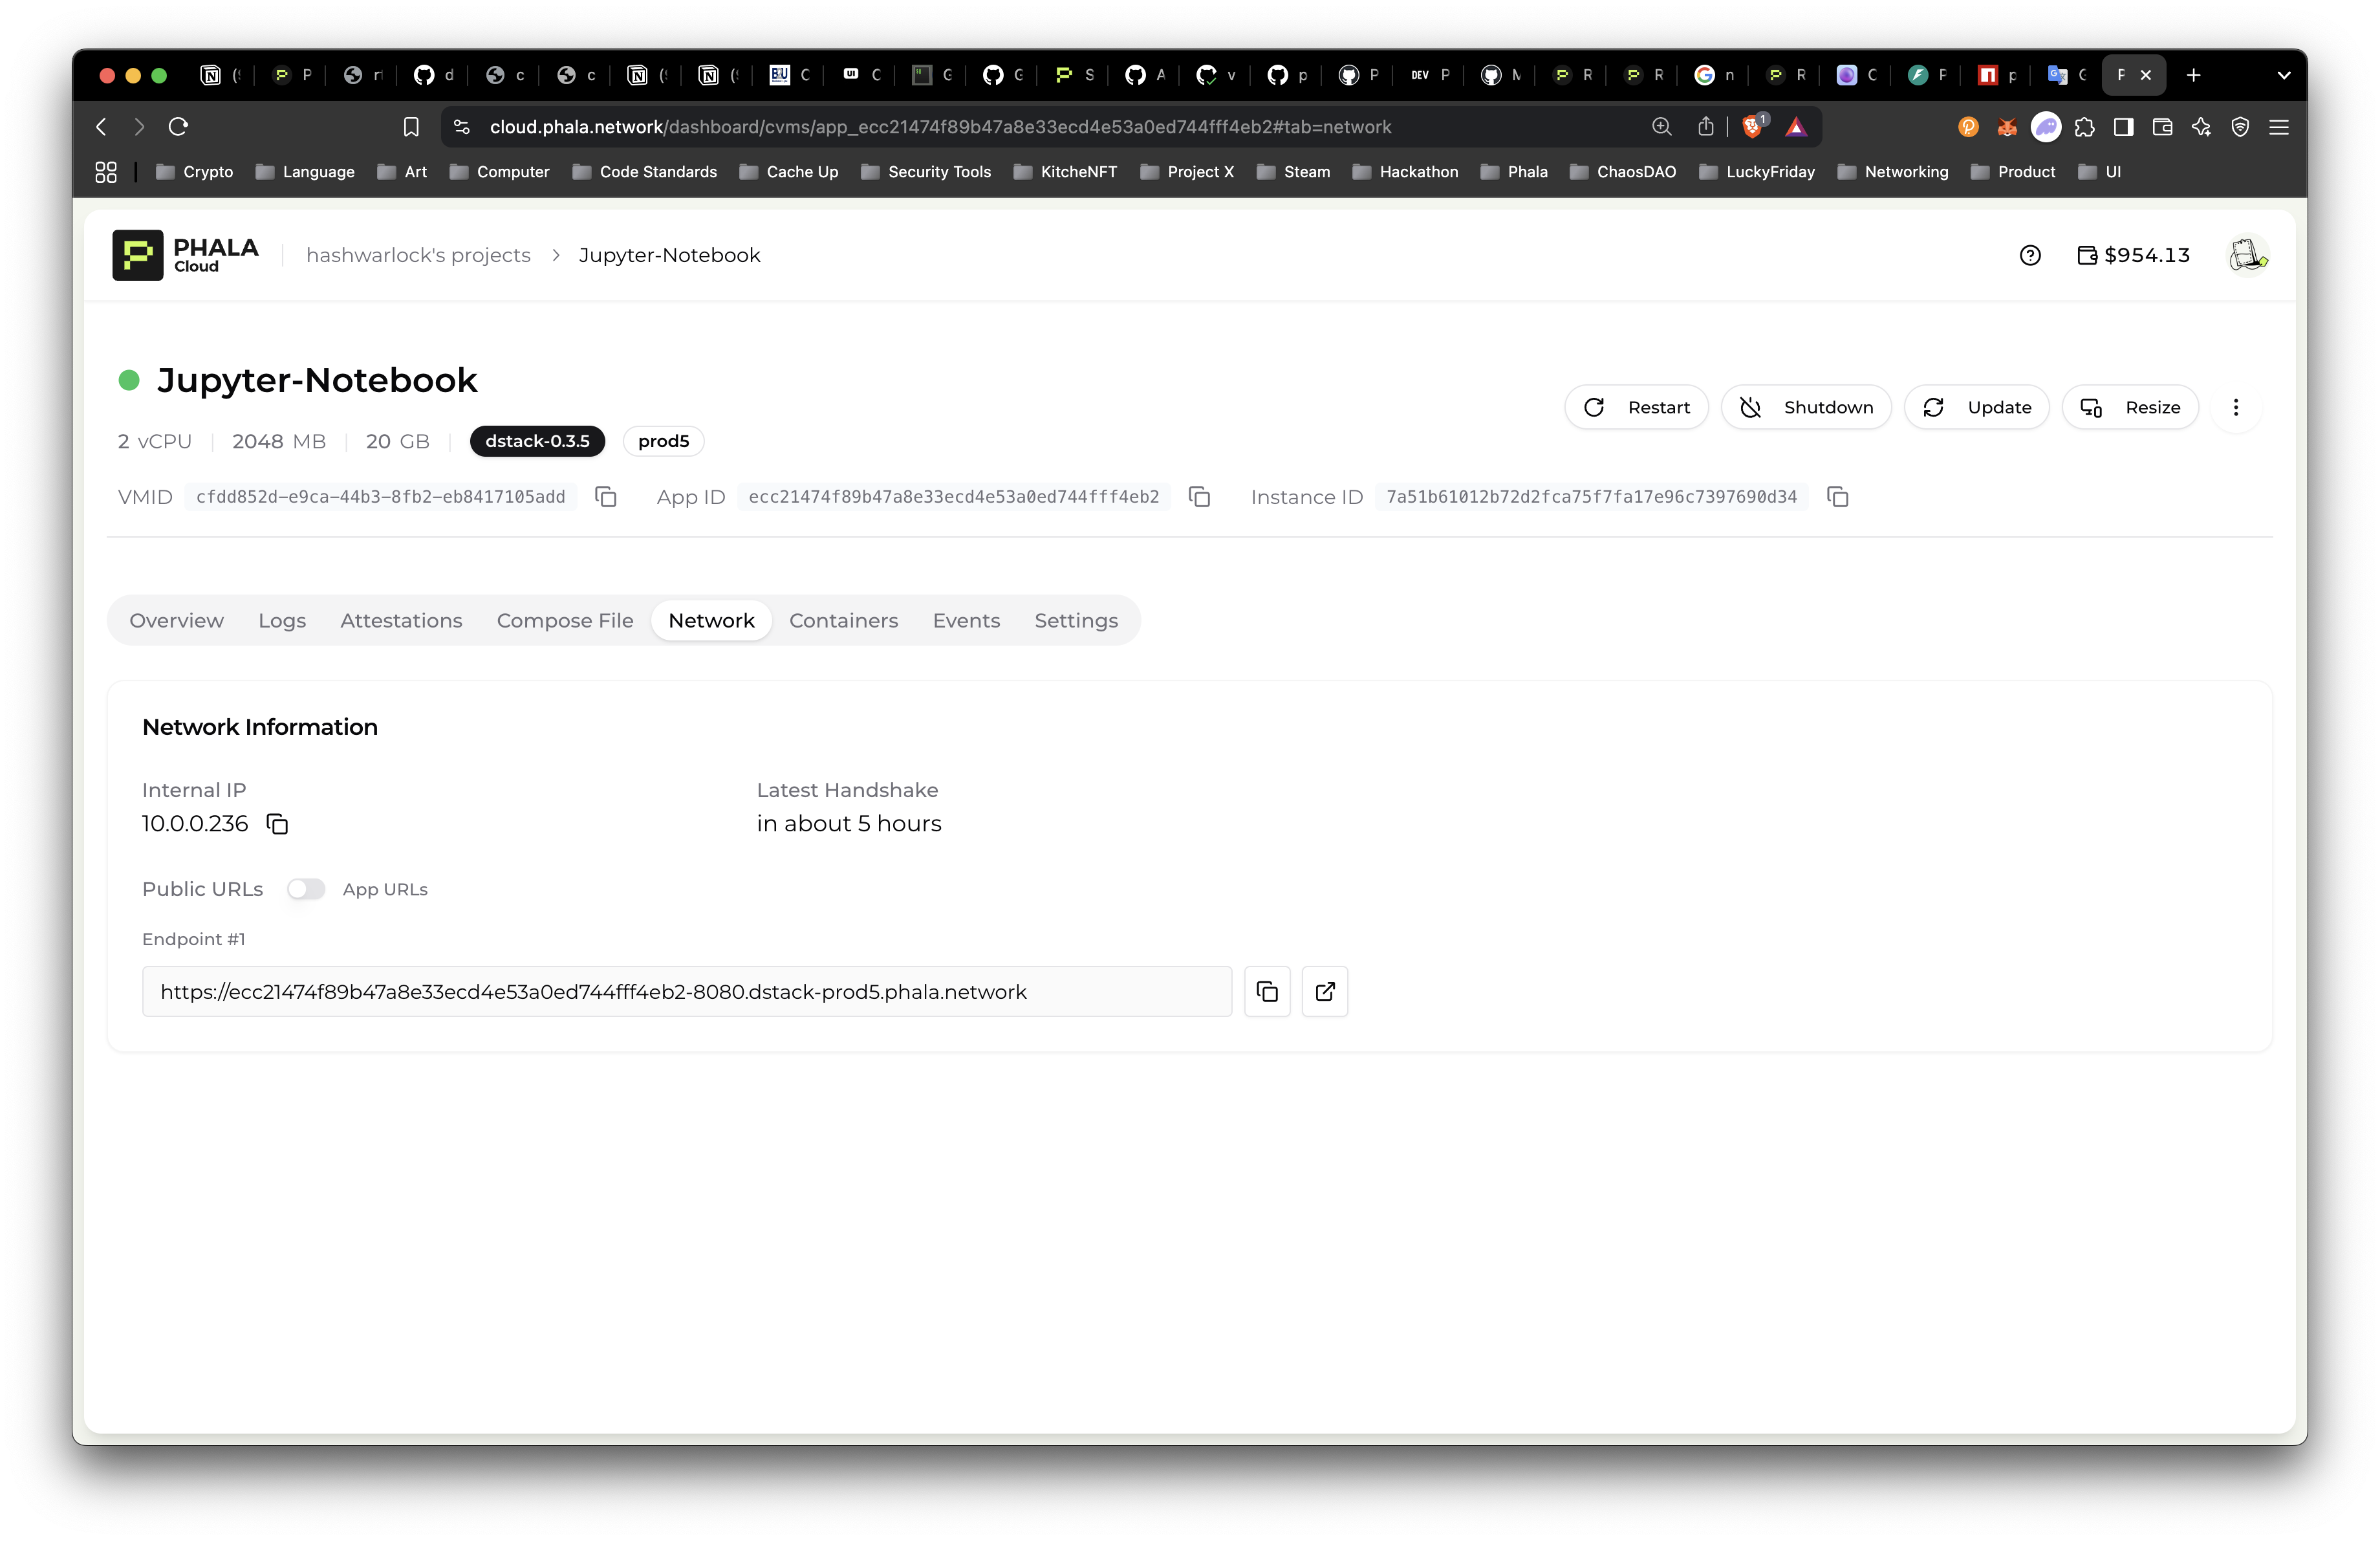
Open in New Tab and enter the Jupyter Token generated for your Jupyter Notebook.
We are now inside the Jupyter Notebook!
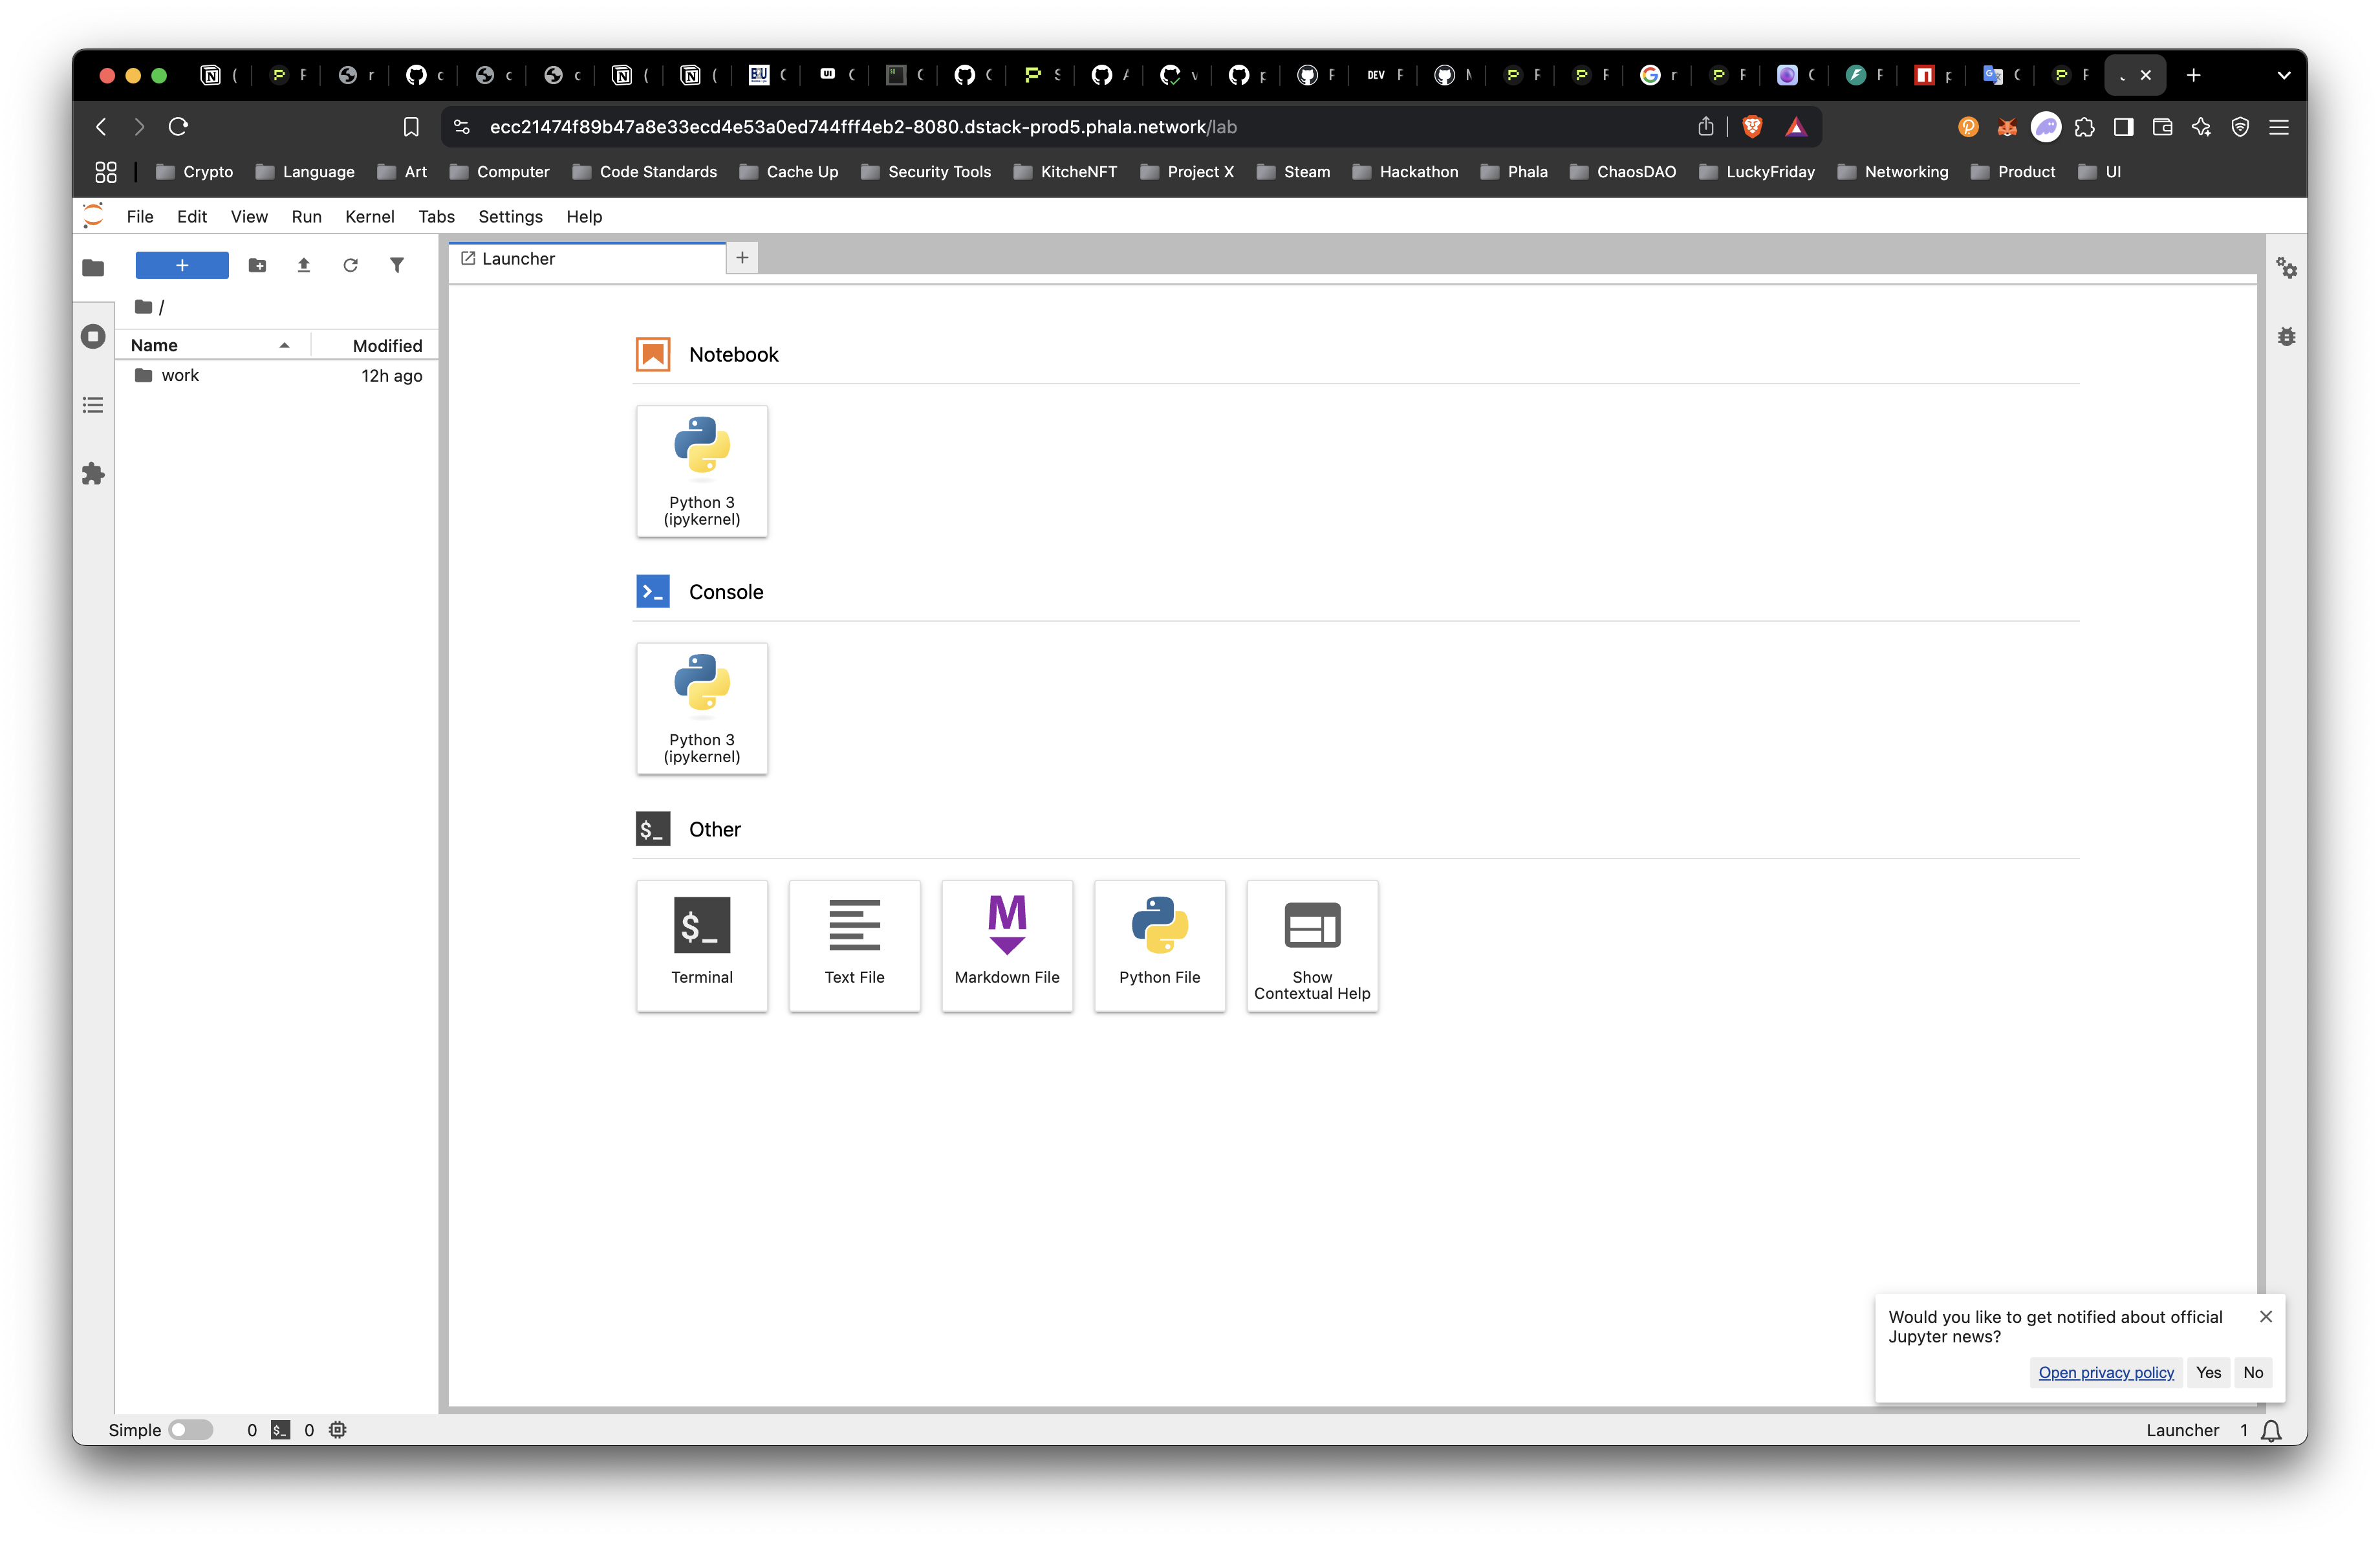
Let’s try a couple function to test with the dstack python SDK:
- Remote Attestation
- Key Derive with Key Management Service
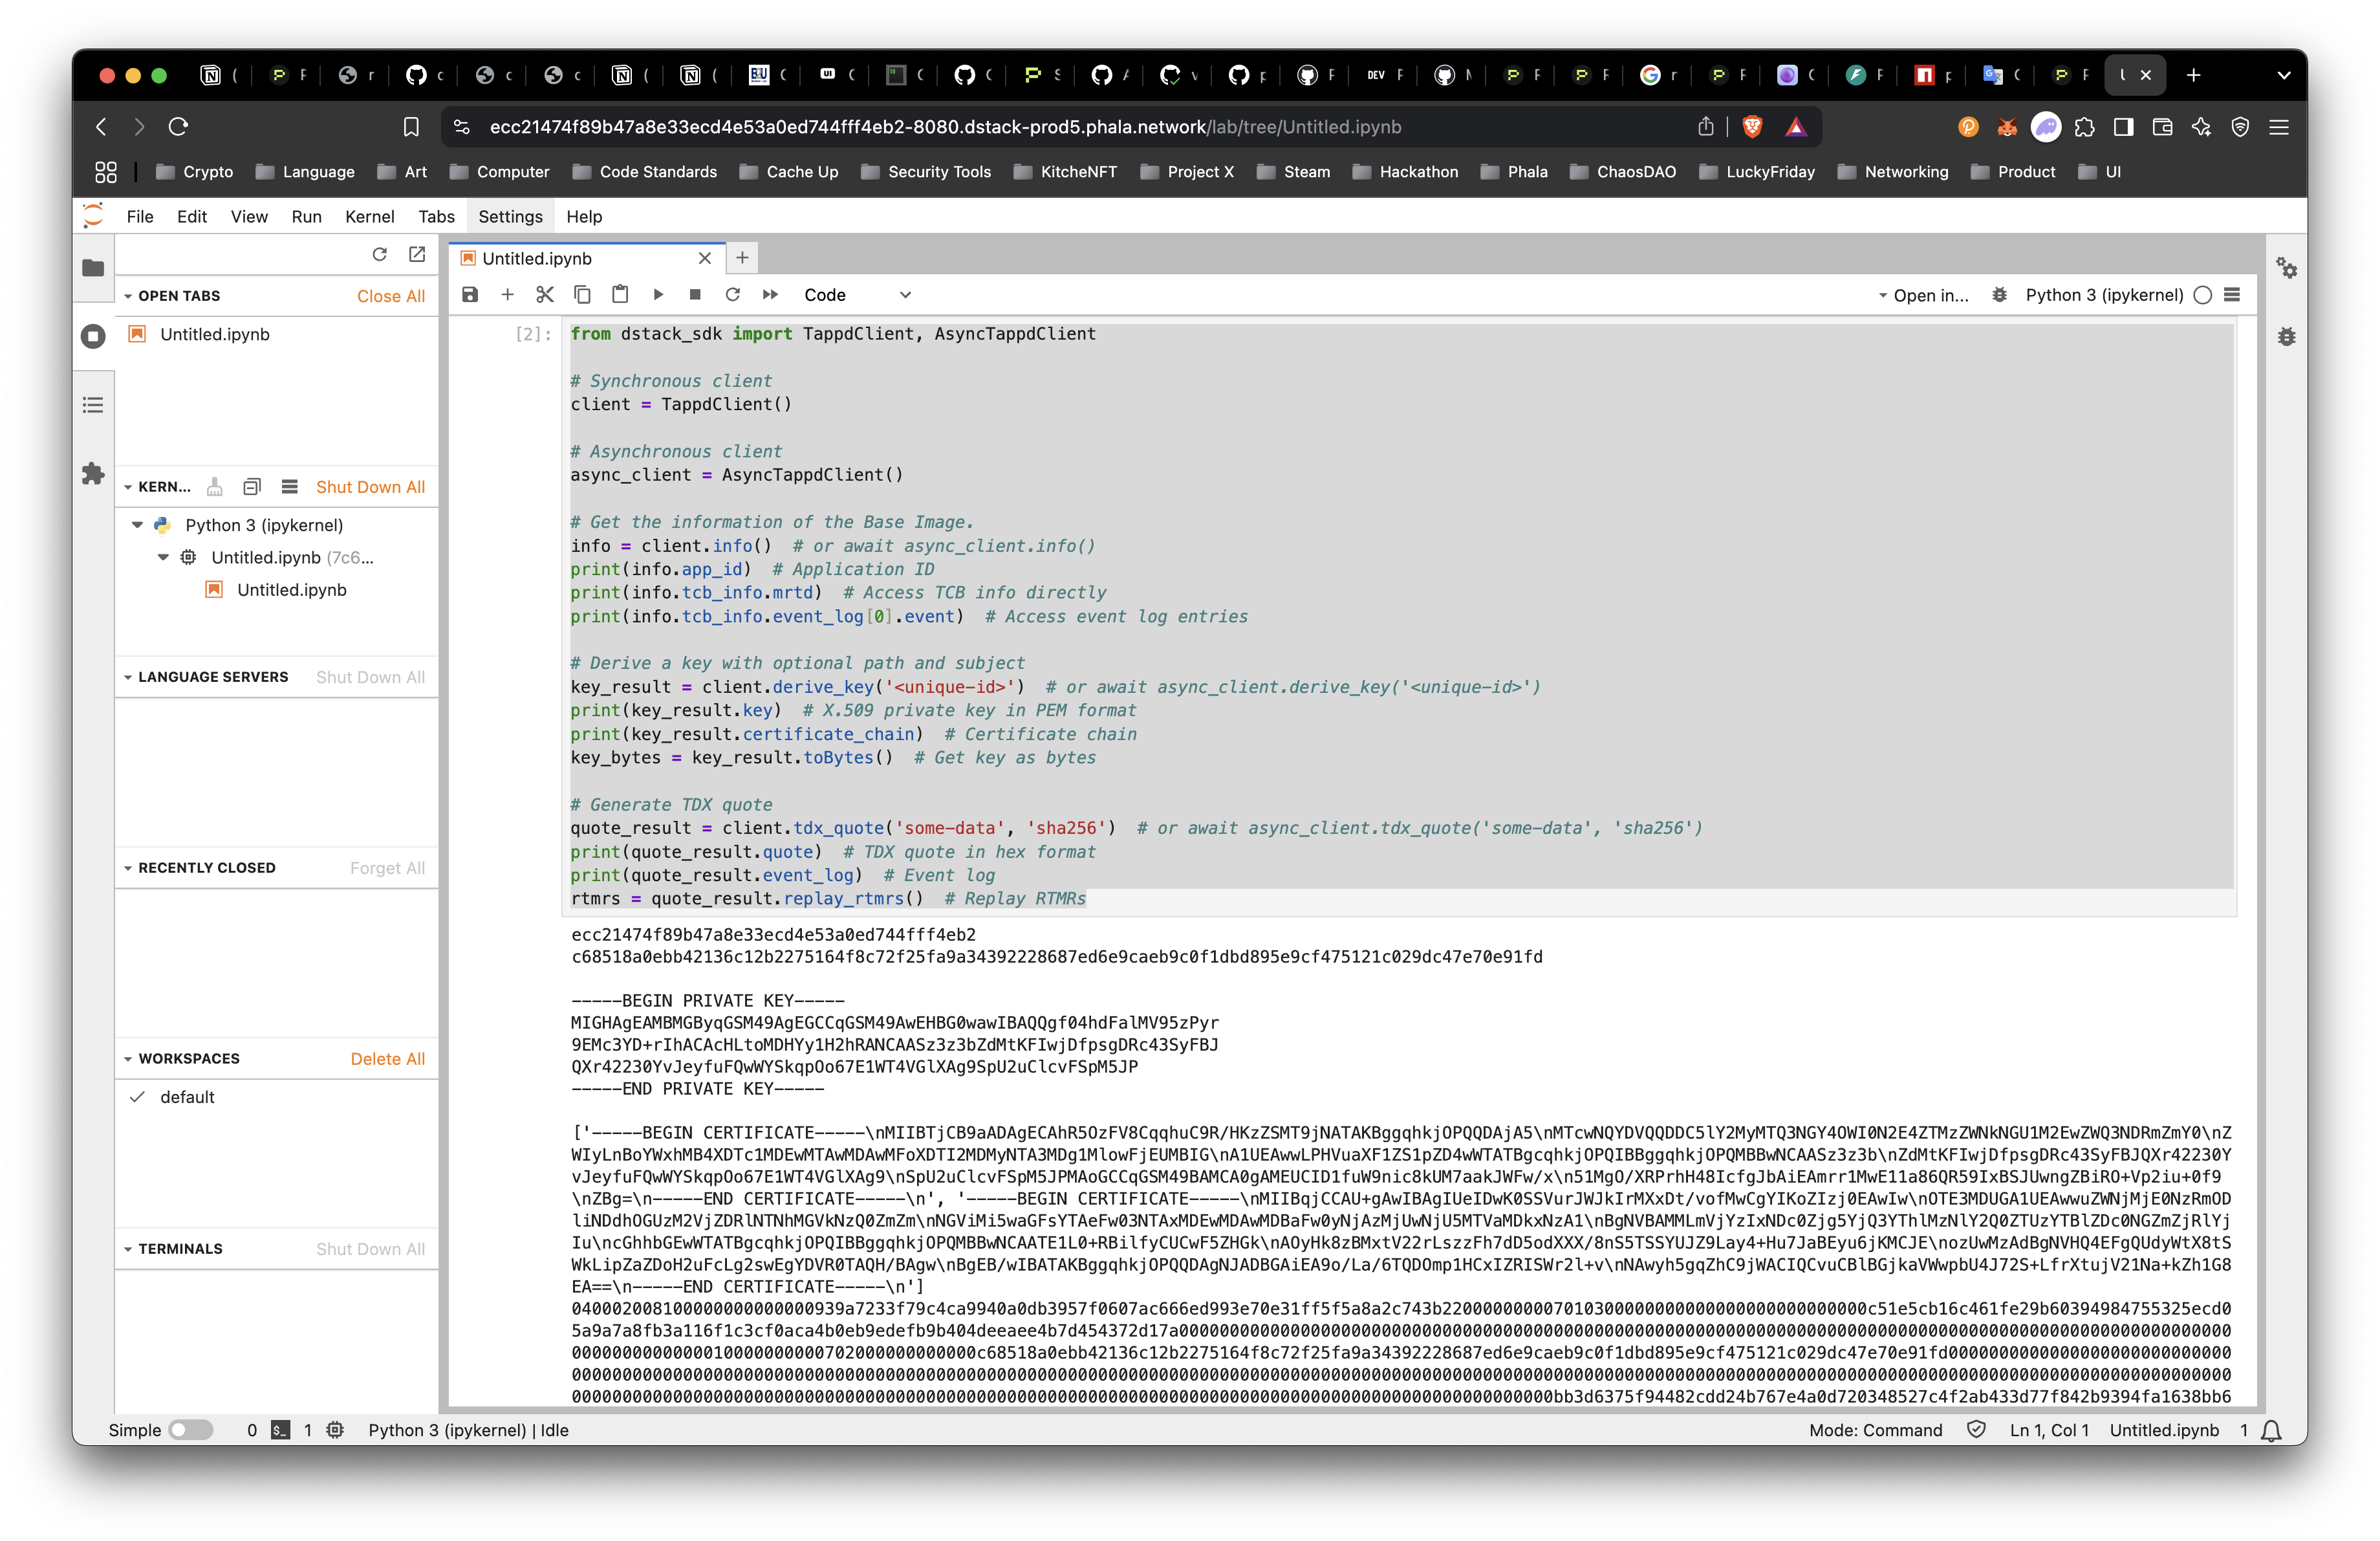
Install Dstack SDK

Now, we can use some sample code from the SDK README below to test out.
from dstack_sdk import TappdClient, AsyncTappdClient

# Synchronous client
client = TappdClient()

# Asynchronous client
async_client = AsyncTappdClient()

# Get the information of the Base Image.
info = client.info()  # or await async_client.info()
print(info.app_id)  # Application ID
print(info.tcb_info.mrtd)  # Access TCB info directly
print(info.tcb_info.event_log[0].event)  # Access event log entries

# Derive a key with optional path and subject
key_result = client.derive_key('<unique-id>')  # or await async_client.derive_key('<unique-id>')
print(key_result.key)  # X.509 private key in PEM format
print(key_result.certificate_chain)  # Certificate chain
key_bytes = key_result.toBytes()  # Get key as bytes

# Generate TDX quote
quote_result = client.tdx_quote('some-data', 'sha256')  # or await async_client.tdx_quote('some-data', 'sha256')
print(quote_result.quote)  # TDX quote in hex format
print(quote_result.event_log)  # Event log
rtmrs = quote_result.replay_rtmrs()  # Replay RTMRs
We get the following result:
This is a great start, but let’s try something more specific like generating:
- Ethereum Account
- Solana Keypair
First, run pip install "dstack-sdk[all]" to get the right dependencies.
Let’s write some code to get an ETH and SOL account.
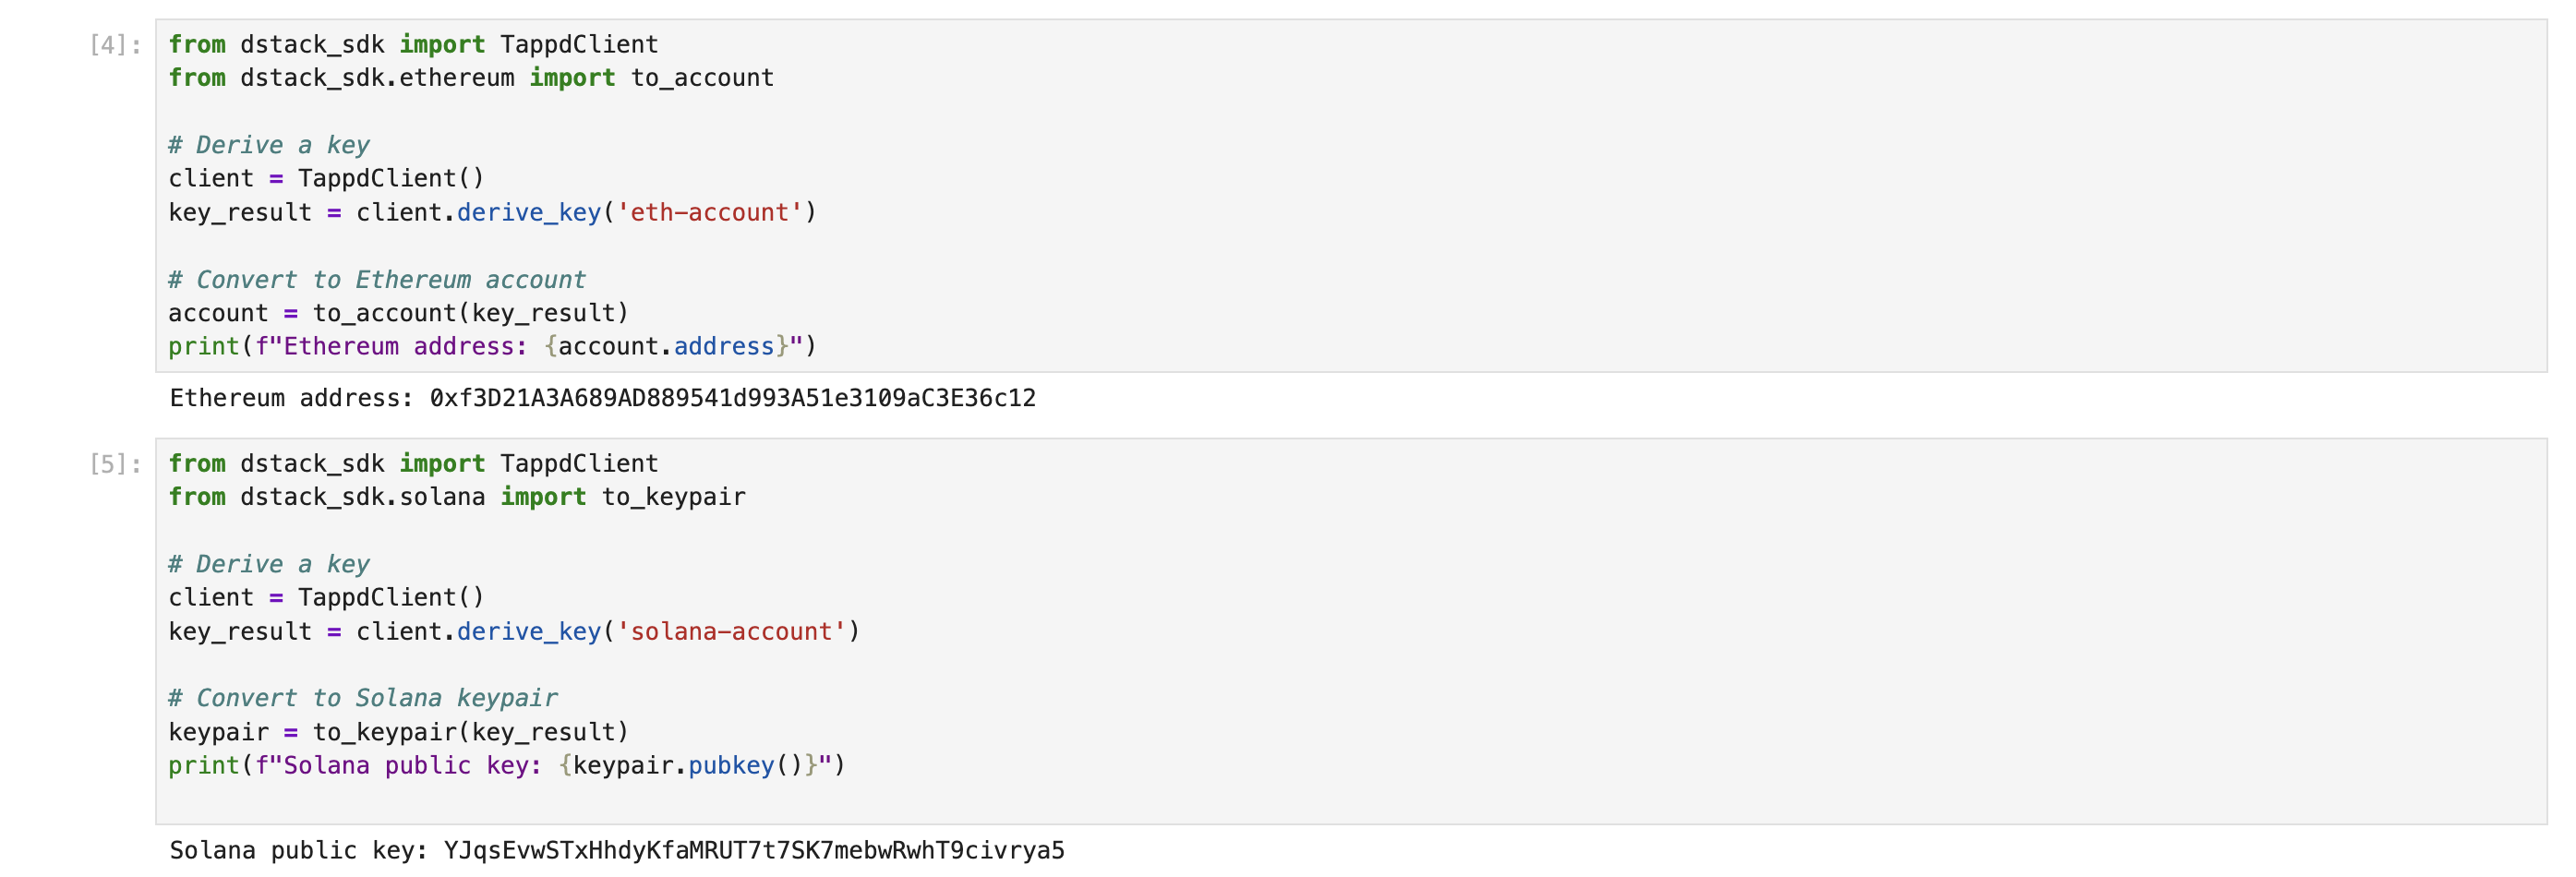
This is great! We have now shown we can interact with the TEE special functions for deriving keys through the key management service and generate remote attestations. We will have another blogpost to dive deeper into this information later, but to get a head start check out Key Management Service Docs and the Attestation Guide for Dstack.
Build and Deploy a Confidential VM From Scratch
Now that you're familiar with the quick start deployment, let's put them into practice by deploying a simple confidential application to Phala Cloud.
- Prepare a Docker image:
For this example, we'll use a basic "Hello World" Node.js application. Create a file named
app.jswith the following content:
const http = require('http');
const port = 3000;

const server = http.createServer((req, res) => {
  res.statusCode = 200;
  res.setHeader('Content-Type', 'text/plain');
  res.end('Hello from Phala Cloud!');
});

server.listen(port, () => {
  console.log(`Server running on port ${port}`);
});
Now, create a Dockerfile:
FROM node:14
WORKDIR /app
COPY app.js .
EXPOSE 3000
CMD ["node", "app.js"]- Login to Docker: If you are currently logged into docker already, the session will be detected.
phala docker login -u <docker-username>Example from my session.
phala docker login -u hashwarlock⟳ Logging in to Docker Hub as hashwarlock... ✓: Logged in as hashwarlock
✓ hashwarlock is logged in to Docker Hub- Build and push the Docker image:
# If tags are not defined then you will be prompted
phala docker build -i app -t new -f ./Dockerfile
Latest 10 lines (full log at ~/.phala-cloud/logs/app-build-2025-03-25T05-31-55-215Z.log):
--------------------------------------------------
#7 [2/3] WORKDIR /app
#7 DONE 2.2s
#8 [3/3] COPY app.js .
#8 DONE 0.1s
#9 exporting to image
#9 exporting layers 0.0s done
#9 writing image sha256:b25abaa07cb58fd8d5ebf23eae879a647dd2f05dad56ae3ce54088f26b4a4d15 done
#9 naming to docker.io/hashwarlock/app:new done
#9 DONE 0.1s
View build details: docker-desktop://dashboard/build/orbstack/orbstack/j1qqtpuipx9np0ymvcljoin66
Operation completed. Full log available at: ~/.phala-cloud/logs/app-build-2025-03-25T05-31-55-215Z.log
✓: Docker image hashwarlock/app:new built successfully
✓ Docker image hashwarlock/app:new built successfullyNow publish the image to DockerHub or the docker container registry of you are logged into.
phala docker push -i <docker-username>/<image>:<tag>phala docker push -i hashwarlock/app:newExpected output should be logged in the project folder under .phala-cloud/logs
Latest 10 lines (full log at ~/.phala-cloud/logs/app-push-2025-03-25T05-39-42-881Z.log):
--------------------------------------------------
f8a91dd5fc84: Mounted from library/node
2319a657fee6: Pushed
e01a454893a9: Mounted from library/node
cb81227abde5: Mounted from library/node
22f9161f1b5d: Pushed
c45660adde37: Mounted from library/node
f1186e5061f2: Mounted from library/node
fe0fb3ab4a0f: Mounted from library/node
b2dba7477754: Mounted from library/node
new: digest: sha256:ce0645176e9e676210bc1e5bb60c6e1931a5fb8222fa6031384ae428e39e48e7 size: 2628

Operation completed. Full log available at: ~/.phala-cloud/logs/app-push-2025-03-25T05-39-42-881Z.log
✓: Docker image hashwarlock/app:new pushed successfully
✓ Docker image hashwarlock/app:new pushed successfully- Generate a docker compose file:
There is a
generatecommand that will generate a basic template for a docker compose file for your CVM deployment. This command is good to get a compose file started, but it is likely you will need to build your own based on your docker app’s capabilities. So we will generate the basic compose file then make some edits.
phala docker generate -i <docker-username>/<image>:<tag>Here we can see my example that generated a docker-compose.yml file in the root of the project and a backup will be generated in .phala-cloud/compose folder.
phala docker generate -i hashwarlock/app:new
✔ Enter path to environment variables file:
ℹ Generating Docker Compose file for hashwarlock/app:new without env file
ℹ Creating directory: .phala-cloud/compose
✓ Backup of docker compose file created at: .phala-cloud/compose/app-tee-compose.yaml
✓ Docker Compose file generated successfully: ~/docker-compose.yml
If we check out the generated file, we will need to make some edits since there will be some errors with the compose file if there are no environment variables.
cat docker-compose.ymlversion: '3.8'
services:
app:
image: hashwarlock/app:new
container_name: app
volumes:
- /var/run/tappd.sock:/var/run/tappd.sock
environment:
restart: always
The change we need to make is simple. Open your editor or use vim to edit the file and remove the environment: line from the compose file. Since we will expose a port to call the API, we need to add the port mapping of 3000:3000 to the compose file as well.
version: '3.8'
services:
  app:
    image: hashwarlock/app:new
    container_name: app
    volumes:
      - /var/run/tappd.sock:/var/run/tappd.sock
    ports:
      - "3000:3000"
restart: always- Create and start a CVM: Now we are ready to deploy our simple application to the Phala Cloud.
phala cvms create -n first-cvm -c ./docker-compose.yml --vcpu 1 --memory 1048 --disk-size 10 --skip-envThis command will return a CVM information that is being deployed:
✓ Deleted DSTACK_SIMULATOR_ENDPOINT from current process
⟳ Getting public key from CVM... ✓
⟳ Encrypting environment variables... ✓
⟳ Creating CVM... ✓
✓ CVM created successfully

╭────────────┬──────────────────────────────────────────────────────────────╮
├────────────┼──────────────────────────────────────────────────────────────┤
│ CVM ID     │ 3746                                                         │
├────────────┼──────────────────────────────────────────────────────────────┤
│ Name       │ first-cvm                                                    │
├────────────┼──────────────────────────────────────────────────────────────┤
│ Status     │ creating                                                     │
├────────────┼──────────────────────────────────────────────────────────────┤
│ App ID     │ app_ce913fb65e1ddfef5ea11cf55c3cd579bf115a09                 │
├────────────┼──────────────────────────────────────────────────────────────┤
│ App URL    │ https://cloud.phala.network/dashboard/cvms/app_ce913fb65e1dd │
│					   │ fef5ea11cf55c3cd579bf115a09                                  │
╰────────────┴──────────────────────────────────────────────────────────────╯
ℹ
✓ Your CVM is being created. You can check its status with:
phala cvms get app_ce913fb65e1ddfef5ea11cf55c3cd579bf115a09- Upgrade if CVM has an error:
Note earlier we mentioned we had to make some changes to the docker-compose file to remove the
environments:line and add theportsmapping for3000:3000. If those were missed and you see an error right now. You can edit yourdocker-compose.ymlfile to be correct then run theupgradecommand to test the CVM upgrades.
phala cvms upgrade [cvm-id] -c <dompose-file> -e <env-file>Let’s try with our current example:
phala cvms upgrade app_ce913fb65e1ddfef5ea11cf55c3cd579bf115a09 -c docker-compose.yml⟳ Fetching current configuration for CVM app_ce913fb65e1ddfef5ea11cf55c3cd579bf115a09... ✓
✓ Deleted DSTACK_SIMULATOR_ENDPOINT from current process
⟳ Upgrading CVM app_ce913fb65e1ddfef5ea11cf55c3cd579bf115a09... ✓
ℹ Details: Accepted
✓ Your CVM is being upgraded. You can check the dashboard for more details:
https://cloud.phala.network/dashboard/cvms/app_ce913fb65e1ddfef5ea11cf55c3cd579bf115a09- Check the CVM status:
phala cvms get <CVM_ID>Wait until the status shows as "Running".
phala cvms get app_ce913fb65e1ddfef5ea11cf55c3cd579bf115a09✓ CVM with App ID app_app_ce913fb65e1ddfef5ea11cf55c3cd579bf115a09 detected
⟳ Fetching CVM with App ID app_ce913fb65e1ddfef5ea11cf55c3cd579bf115a09... ✓
╭──────────────┬────────────────────────────────────────────────────────────╮
├──────────────┼────────────────────────────────────────────────────────────┤
│ Name │ first-cvm │
├──────────────┼────────────────────────────────────────────────────────────┤
│ App ID │ app_ce913fb65e1ddfef5ea11cf55c3cd579bf115a09 │
├──────────────┼────────────────────────────────────────────────────────────┤
│ Status │ running │
├──────────────┼────────────────────────────────────────────────────────────┤
│ VCPU │ 1 │
├──────────────┼────────────────────────────────────────────────────────────┤
│ Memory │ 1048 MB │
├──────────────┼────────────────────────────────────────────────────────────┤
│ Disk Size │ 10 GB │
├──────────────┼────────────────────────────────────────────────────────────┤
│ Dstack Image │ dstack-0.3.5 │
├──────────────┼────────────────────────────────────────────────────────────┤
│ App URL │ https://cloud.phala.network/dashboard/cvms/app_ce913fb65e1 │
│ │ ddfef5ea11cf55c3cd579bf115a09 │
╰──────────────┴────────────────────────────────────────────────────────────╯- Get the Remote Attestation of the CVM: Each deployment in the Phala Cloud is remotely attested to ensure that anyone can verifiably reproduce the RA Quote to ensure the application they are interacting with is the actual app. For more information on this, check the TEE Attestation Guide and checkout the “Attestation” tab in the dashboard.
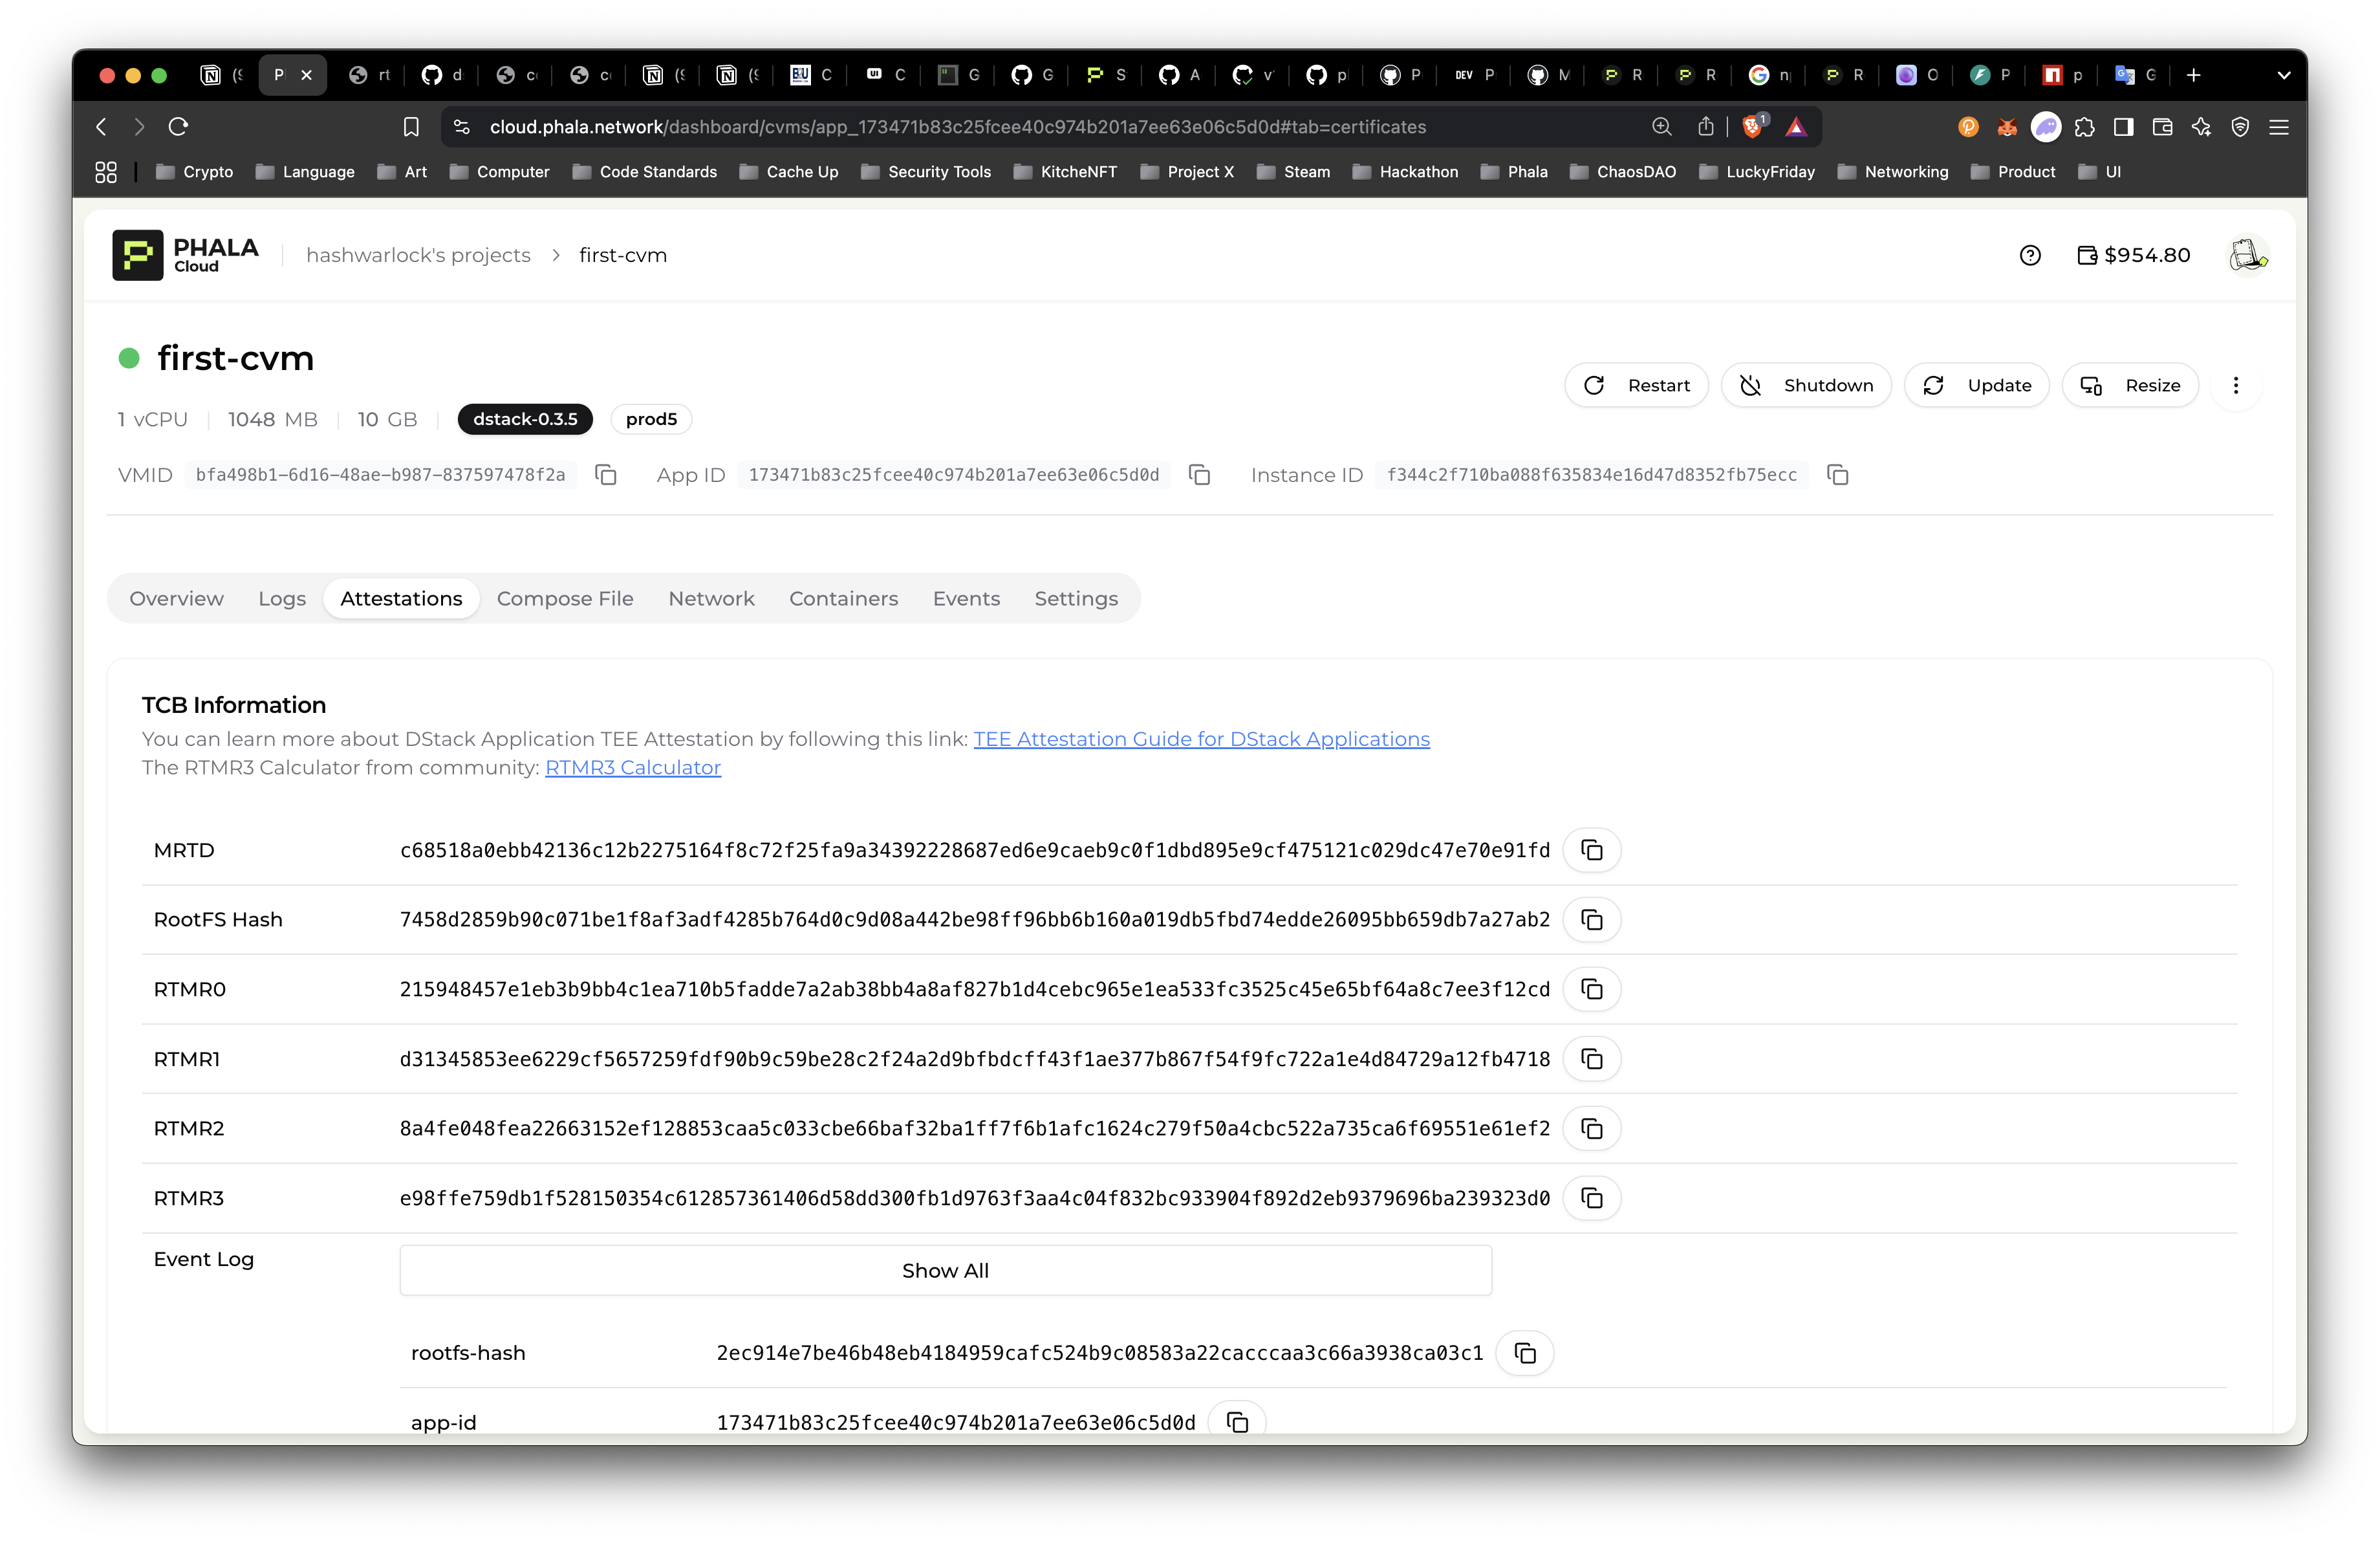
There is also a command for you to fetch this information in the CLI with attestation command.
phala cvms attestation [cvm-id]phala cvms attestation app_ce913fb65e1ddfef5ea11cf55c3cd579bf115a09
- Interact with your application:
The CVM creates a secure, isolated environment. Make a
curlrequest to the exposed port to the url in the “Network” tab in the dashboard:
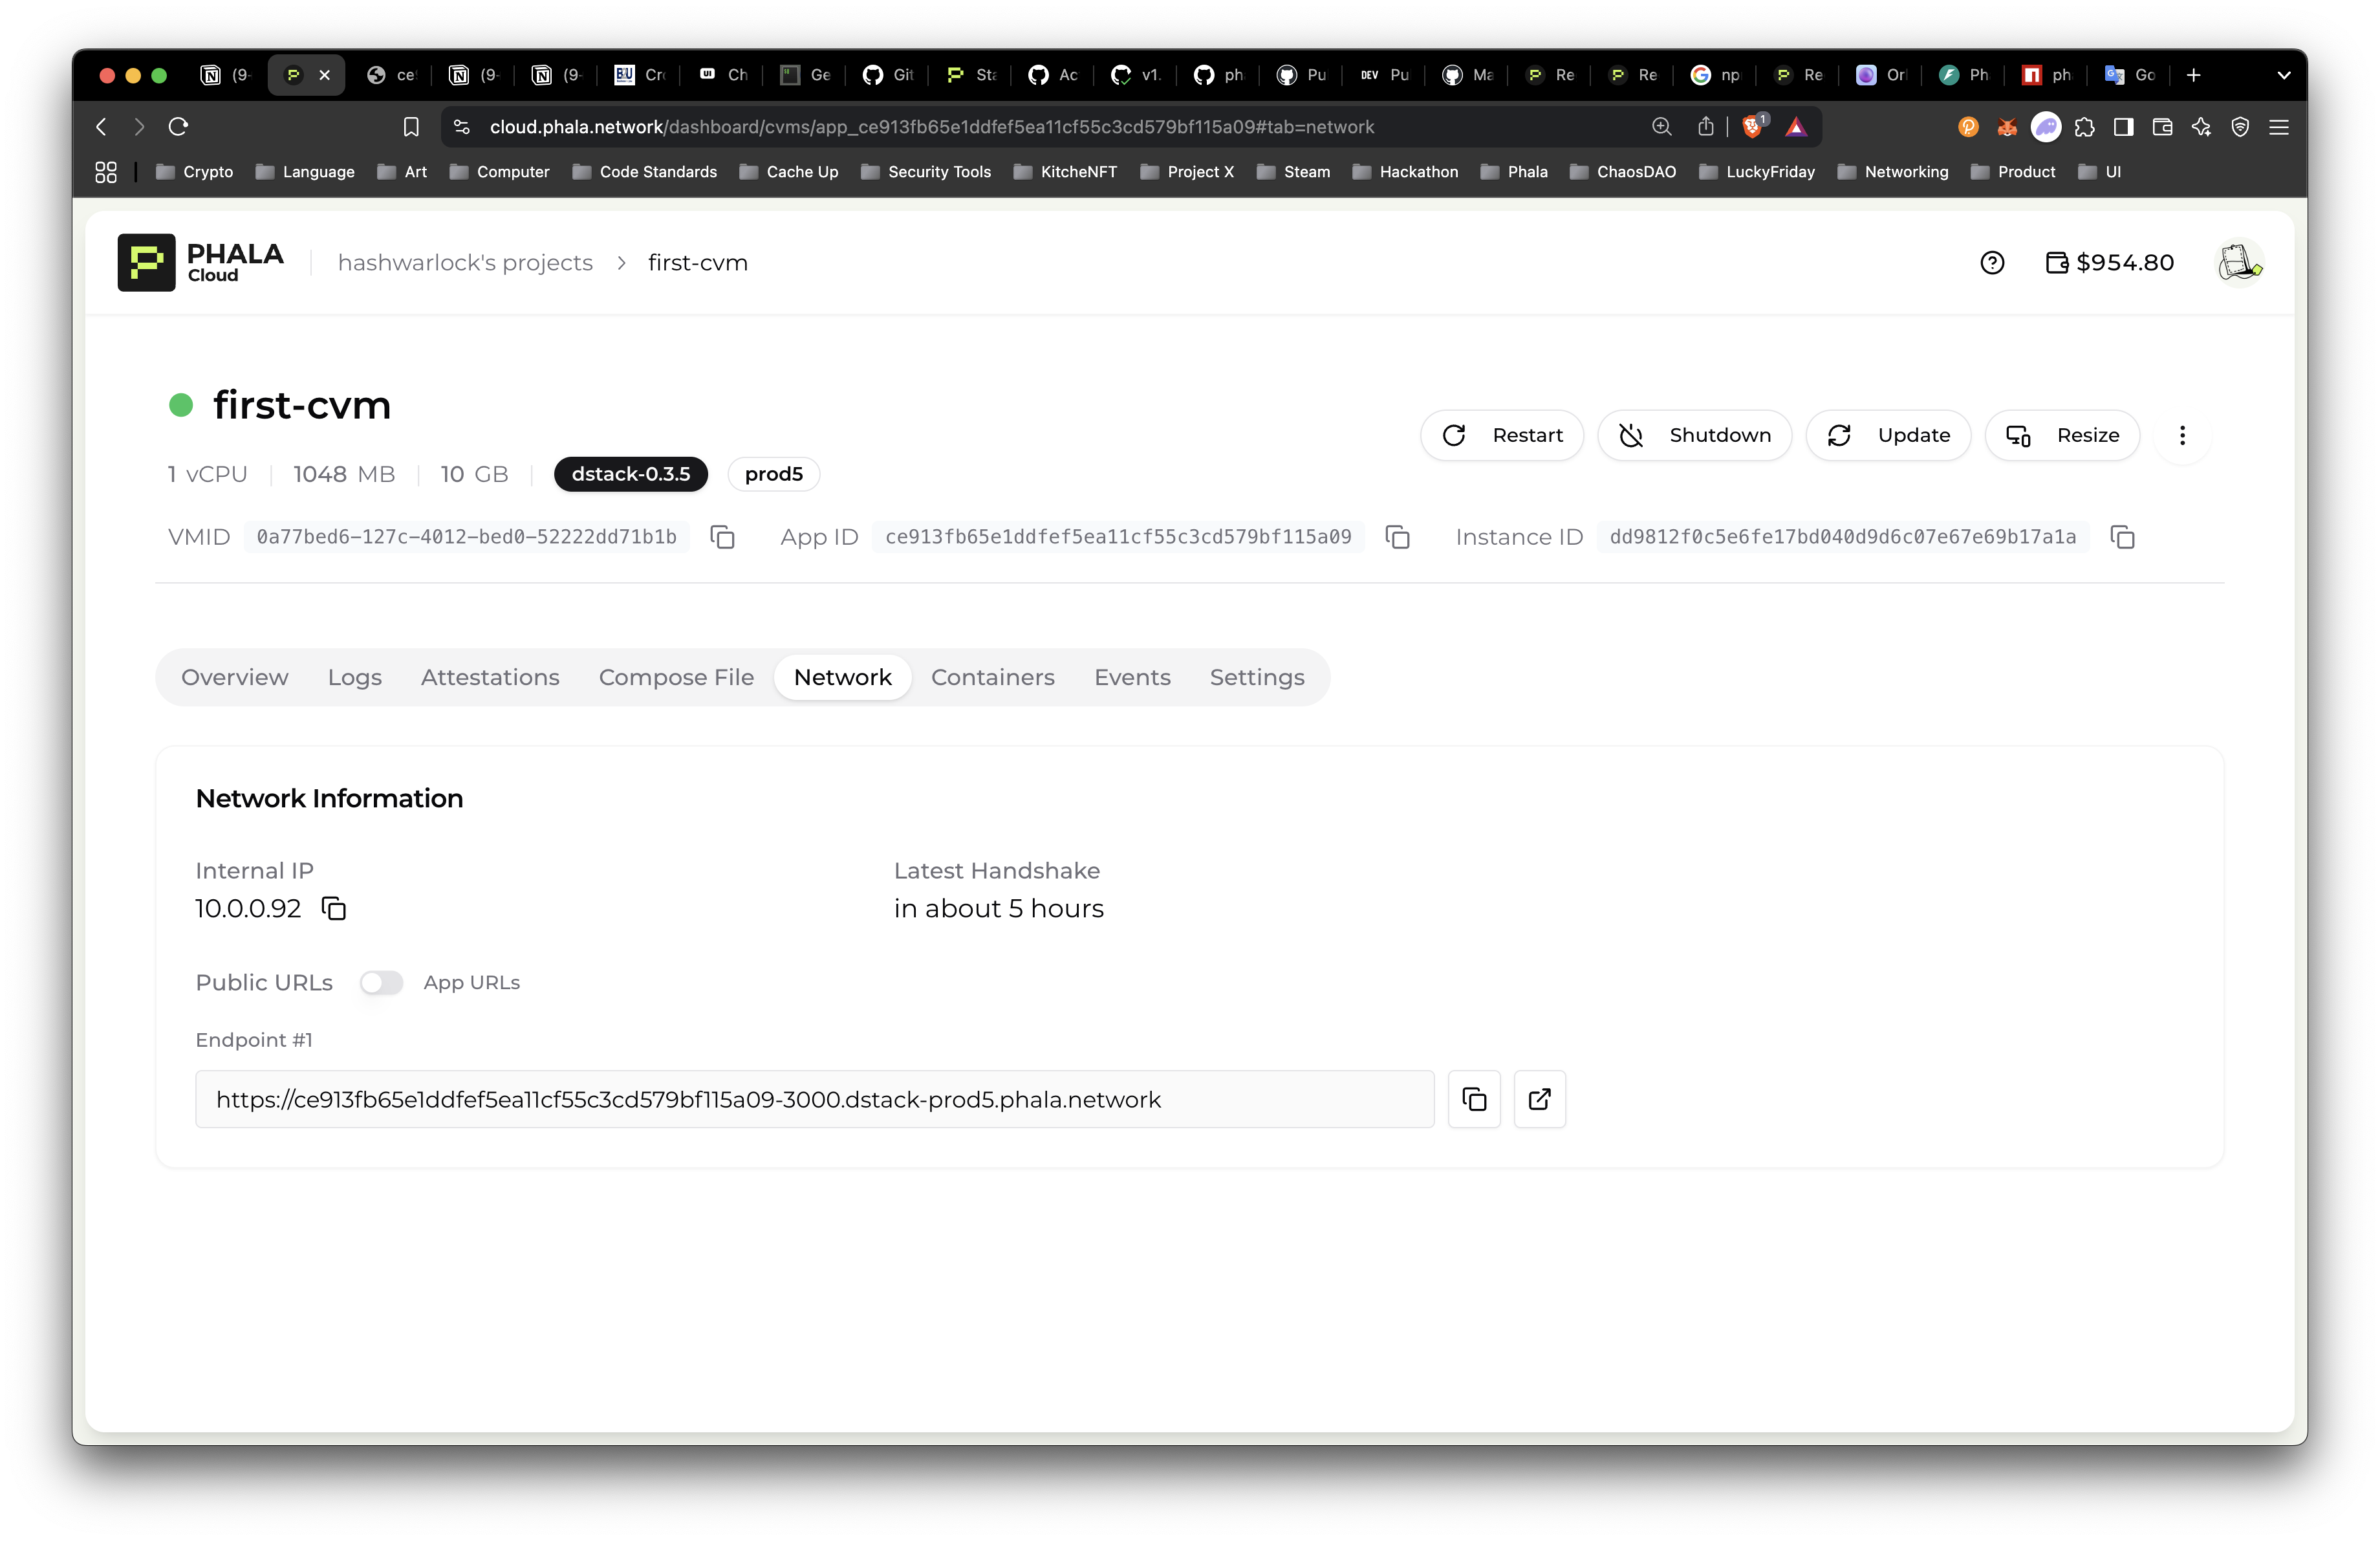
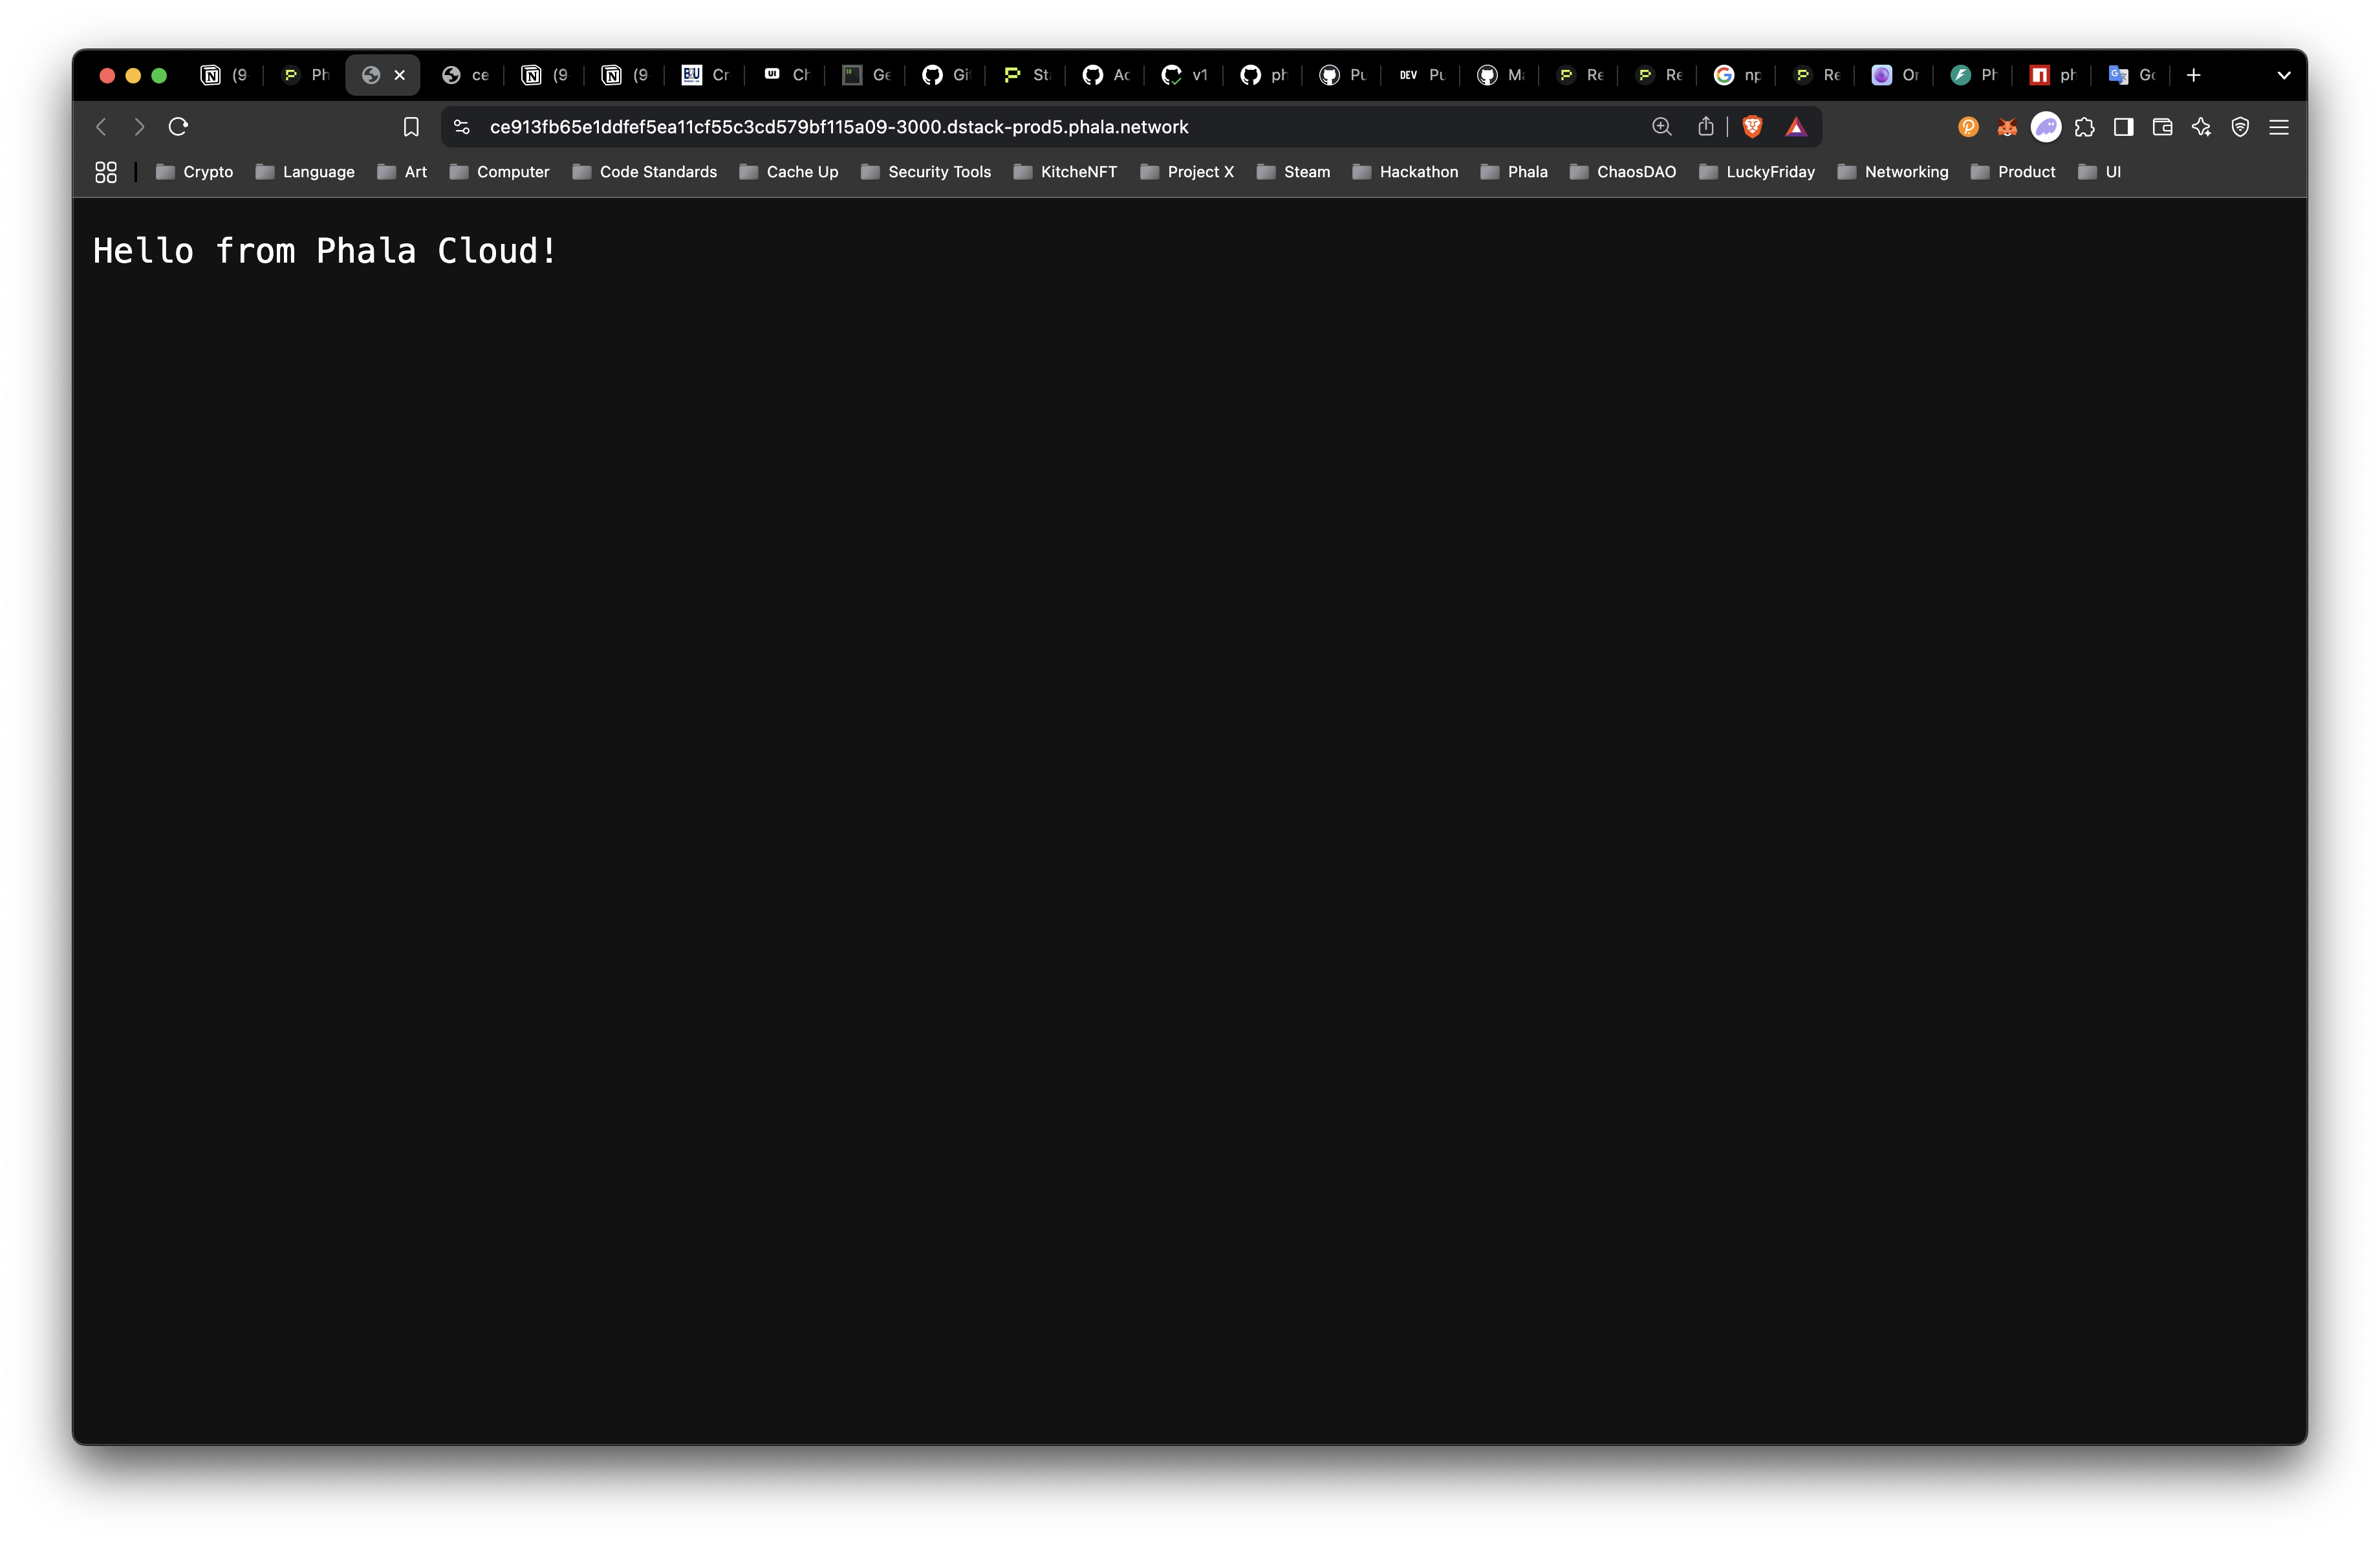
curl https://ce913fb65e1ddfef5ea11cf55c3cd579bf115a09-3000.dstack-prod5.phala.network/
Hello from Phala Cloud!%
Or you can click the “Open in New Tab” button and you should see "Hello from Phala Cloud!".
- Stop the CVM: When you're done testing, stop the CVM:
phala cvms stop [cvm-id]You should see something like the following:
phala cvms stop app_ce913fb65e1ddfef5ea11cf55c3cd579bf115a09
✓ CVM with App ID app_app_ce913fb65e1ddfef5ea11cf55c3cd579bf115a09 detected
⟳ Stopping CVM with App ID app_ce913fb65e1ddfef5ea11cf55c3cd579bf115a09... ✓

╭────────────┬─────────────────────────────────────────────────╮
├────────────┼─────────────────────────────────────────────────┤
│ CVM ID     │ 3746                                            │
├────────────┼─────────────────────────────────────────────────┤
│ Name       │ first-cvm                                       │
├────────────┼─────────────────────────────────────────────────┤
│ Status     │ stopped                                         │
├────────────┼─────────────────────────────────────────────────┤
│ App ID     │ app_ce913fb65e1ddfef5ea11cf55c3cd579bf115a09    │
╰────────────┴─────────────────────────────────────────────────╯

✓ Your CVM is being stopped. You can check the dashboard for more details:
https://cloud.phala.network/dashboard/cvms/app_ce913fb65e1ddfef5ea11cf55c3cd579bf115a09- Delete the CVM: To clean up and remove the CVM:
phala cvms delete [cvm-id]Now we can delete our new CVM to give you room to build out your own idea! Here is what deleting would look like:
phala cvms delete app_ce913fb65e1ddfef5ea11cf55c3cd579bf115a09
✓ CVM with App ID app_app_ce913fb65e1ddfef5ea11cf55c3cd579bf115a09 detected
✔ Are you sure you want to delete CVM with App ID app_ce913fb65e1ddfef5ea11cf55c3cd579bf115a09? This action cannot be undone. Yes
⟳ Deleting CVM app_ce913fb65e1ddfef5ea11cf55c3cd579bf115a09... ✓
✓ CVM app_ce913fb65e1ddfef5ea11cf55c3cd579bf115a09 deleted successfullyCongratulations! You've successfully deployed a confidential application to Phala Cloud, interacted with it, and cleaned up your resources.
Remember, every operation you performed was executed within Phala's Trusted Execution Environment, ensuring the confidentiality and integrity of your application and its data.
In a real-world scenario, you might use Phala Cloud to deploy more complex applications that require strong privacy guarantees, such as AI models, financial applications, or sensitive data processing pipelines.
Next Steps:
- Explore more complex deployments using the Phala Cloud documentation.
- Learn about integrating external services securely with your Phala Cloud applications.
- Dive into Phala's advanced features like remote attestation and key management service.
Conclusion
Congratulations on taking your first steps with the Phala Cloud CLI! You've learned how to set up the CLI, authenticate your account, and deploy a confidential application to Phala's secure cloud environment. By leveraging familiar CLI commands and Docker workflows, you've seen how Phala Cloud makes it straightforward to harness the power of Trusted Execution Environments (TEEs) for your applications.
Remember, what sets Phala Cloud apart is its ability to provide unparalleled security and privacy for your sensitive workloads. Every application you deploy, every computation you run, benefits from the protection of TEEs, ensuring data confidentiality and integrity throughout its lifecycle.
As you continue your journey with Phala Cloud, you'll discover how this platform can transform your approach to handling sensitive data, running AI models, or deploying privacy-critical applications. The possibilities are vast, from secure data analytics to confidential AI inference and beyond.
Call to Action
Ready to take the next step in your confidential computing journey? Here's how you can dive deeper into the Phala ecosystem:
- Explore More Tutorials: Visit our documentation for in-depth guides on advanced features and real-world use cases.
- Join the Community: Connect with other developers and the Phala team on our Discord channel. Share your experiences, ask questions, and get inspired by what others are building.
- Start Building: Put your new skills to use! Log in to Phala Cloud and start deploying your confidential applications today.
- Stay Updated: Follow us on Twitter and subscribe to our newsletter for the latest features, tutorials, and community highlights.
- Contribute: Found a bug or have a feature request? Our CLI is open-source! Check out our GitHub repository and consider contributing.
Remember, with Phala Cloud, you're not just deploying applications – you're pioneering the future of privacy-preserving computation. We can't wait to see what you'll build next!
Happy coding, and welcome to the world of confidential cloud computing with Phala!