How to Deploy a dApp on Phala Cloud: A Step-by-Step Guide
2025-03-24
Welcome to the world of confidential computing with Phala Cloud! If you’re a developer looking to deploy secure, tamper-proof decentralized applications (dApps) and more, Phala Cloud is your go-to platform. Leveraging Trusted Execution Environments (TEEs) based on Intel TDX enclaves, Phala Cloud ensures your applications run in a secure environment, protecting data and computations from unauthorized access, even from the cloud provider. This security is verified through remote attestation, providing cryptographic proof of the TEE’s integrity.
In this guide, we’ll walk you through deploying a dApp on Phala Cloud, using a Jupyter Notebook as an example. Whether you’re building AI agents, machine learning pipelines, or blockchain infrastructure, Phala Cloud provides the tools for secure, scalable deployments.
Prerequisites
Before getting started, make sure you have:
- A Phala Cloud account. If you don’t have one, sign up here: Phala Cloud Registration.
- Basic familiarity with Docker and cloud deployments. If you’re new to Docker, review introductory resources like the official Docker Docs for a quick start.
Ready to Deploy Your dApp Securely? Get Started in 4 Easy Steps
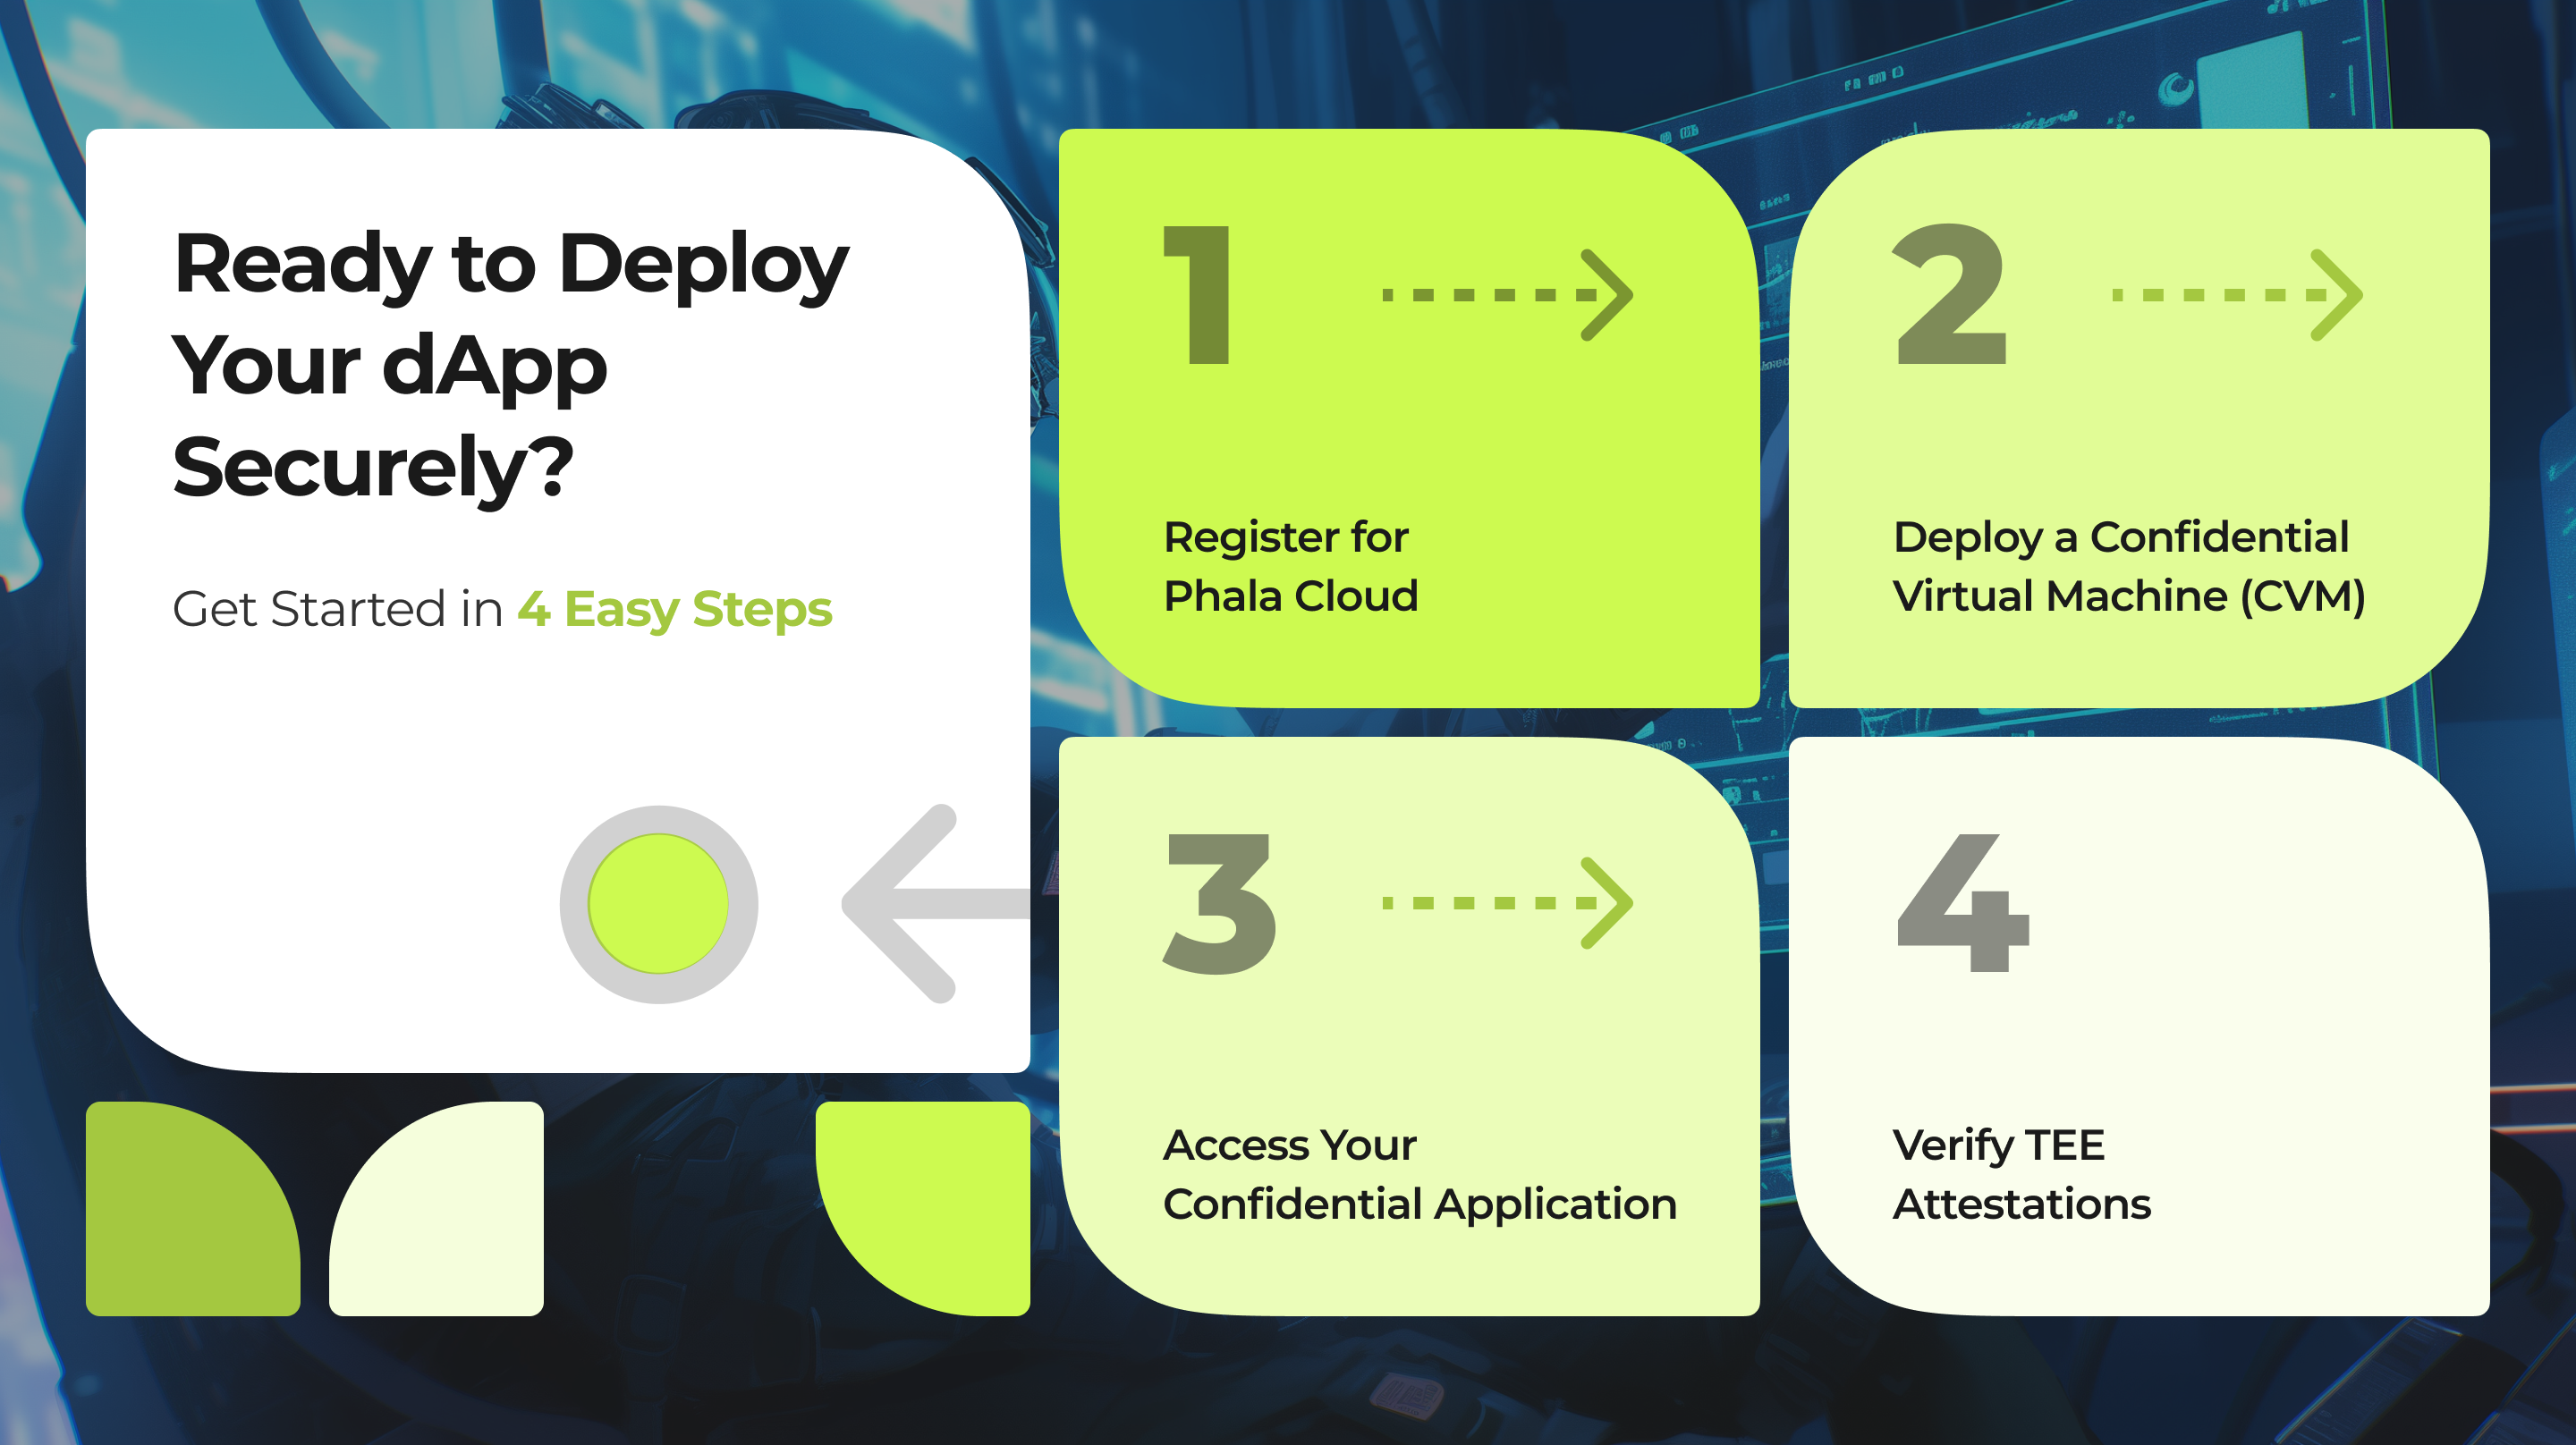
Step 1: Register for Phala Cloud
- Visit the Phala Cloud registration page: Phala Cloud Registration.
- Click Register and enter your user account information.
- Complete your account setup. You’ll receive an email confirmation.

Step 2: Deploy a Confidential Virtual Machine (CVM)
- From the Phala Cloud dashboard, navigate to Deploy → From Docker Compose.

- Configure your application:
- Application Name: Choose a unique identifier for your dApp (e.g., my-dapp-demo).
- Template: For this example, select
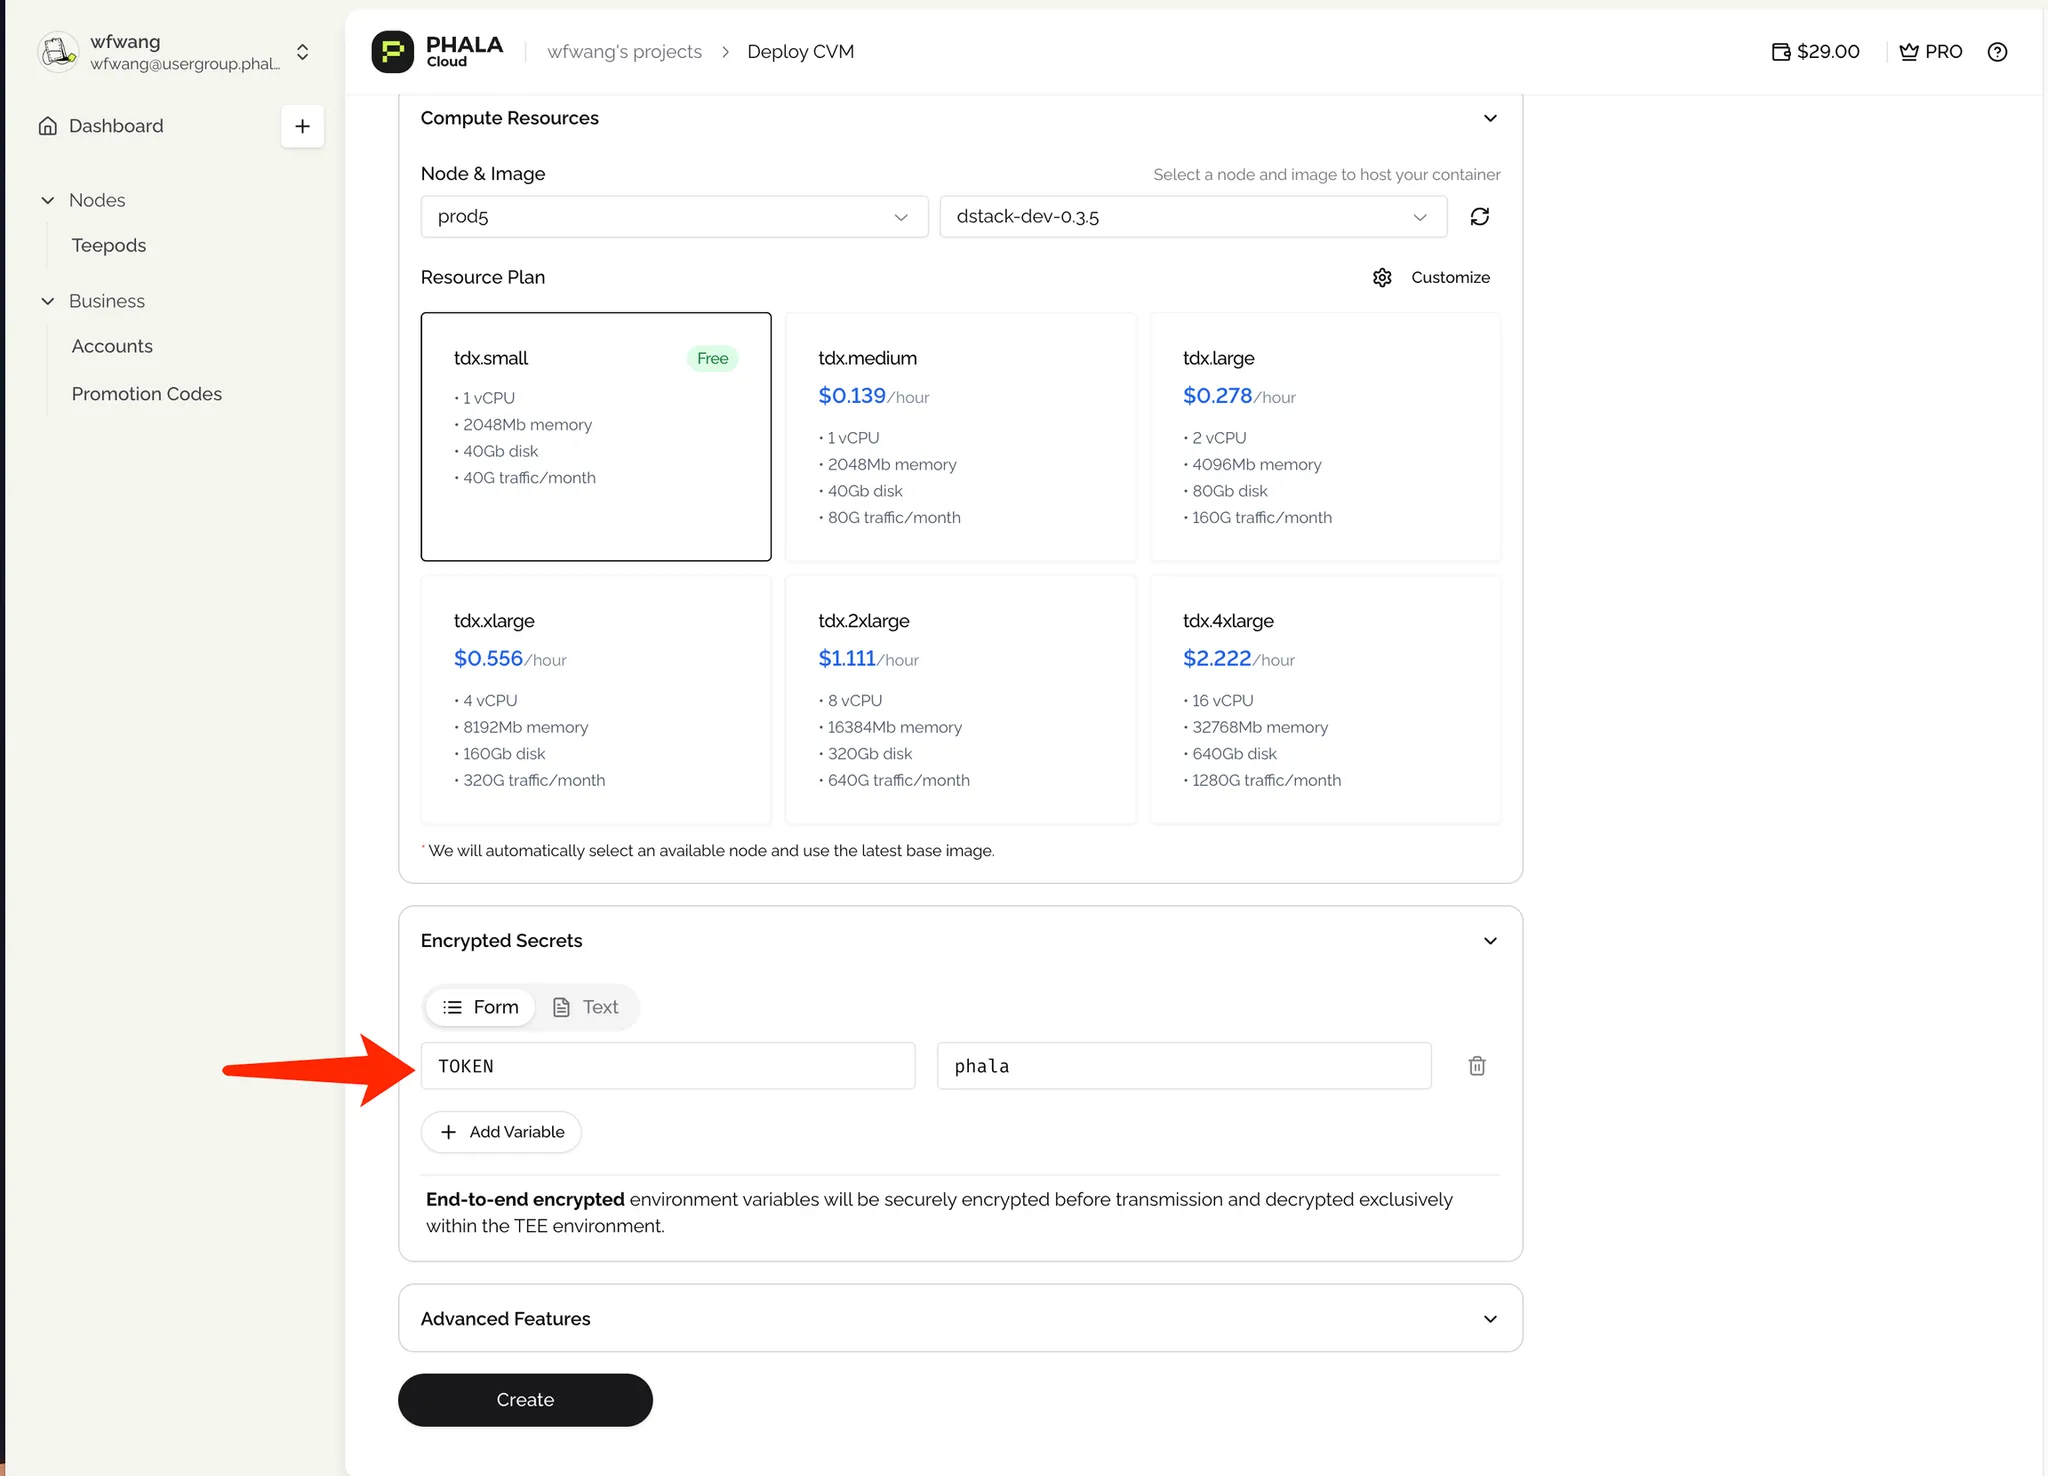
jupyter/base-notebook. For your own dApp, choose the appropriate template if available, or use a custom Docker image. - Compute Resources: Start with the “Starter” plan (1 vCPU, 2GB RAM) for testing. You can scale up later as needed.
- Base Image: Choose the TDX guest image to launch the CVM, optionally use
dstack-dev-*for debug access. - Set Environment Variables: Depending on your dApp’s requirements. For the Jupyter example, set
TOKEN=phalato secure the notebook. - Deploy: Click Create to deploy.


- Monitor the deployment progress via Serial Logs (click the top-right icon on the CVM card).

then you will see the virtual machine is bootstrapping, and it will download docker image and launch your application with docker compose.
Step 3: Access Your Confidential Application
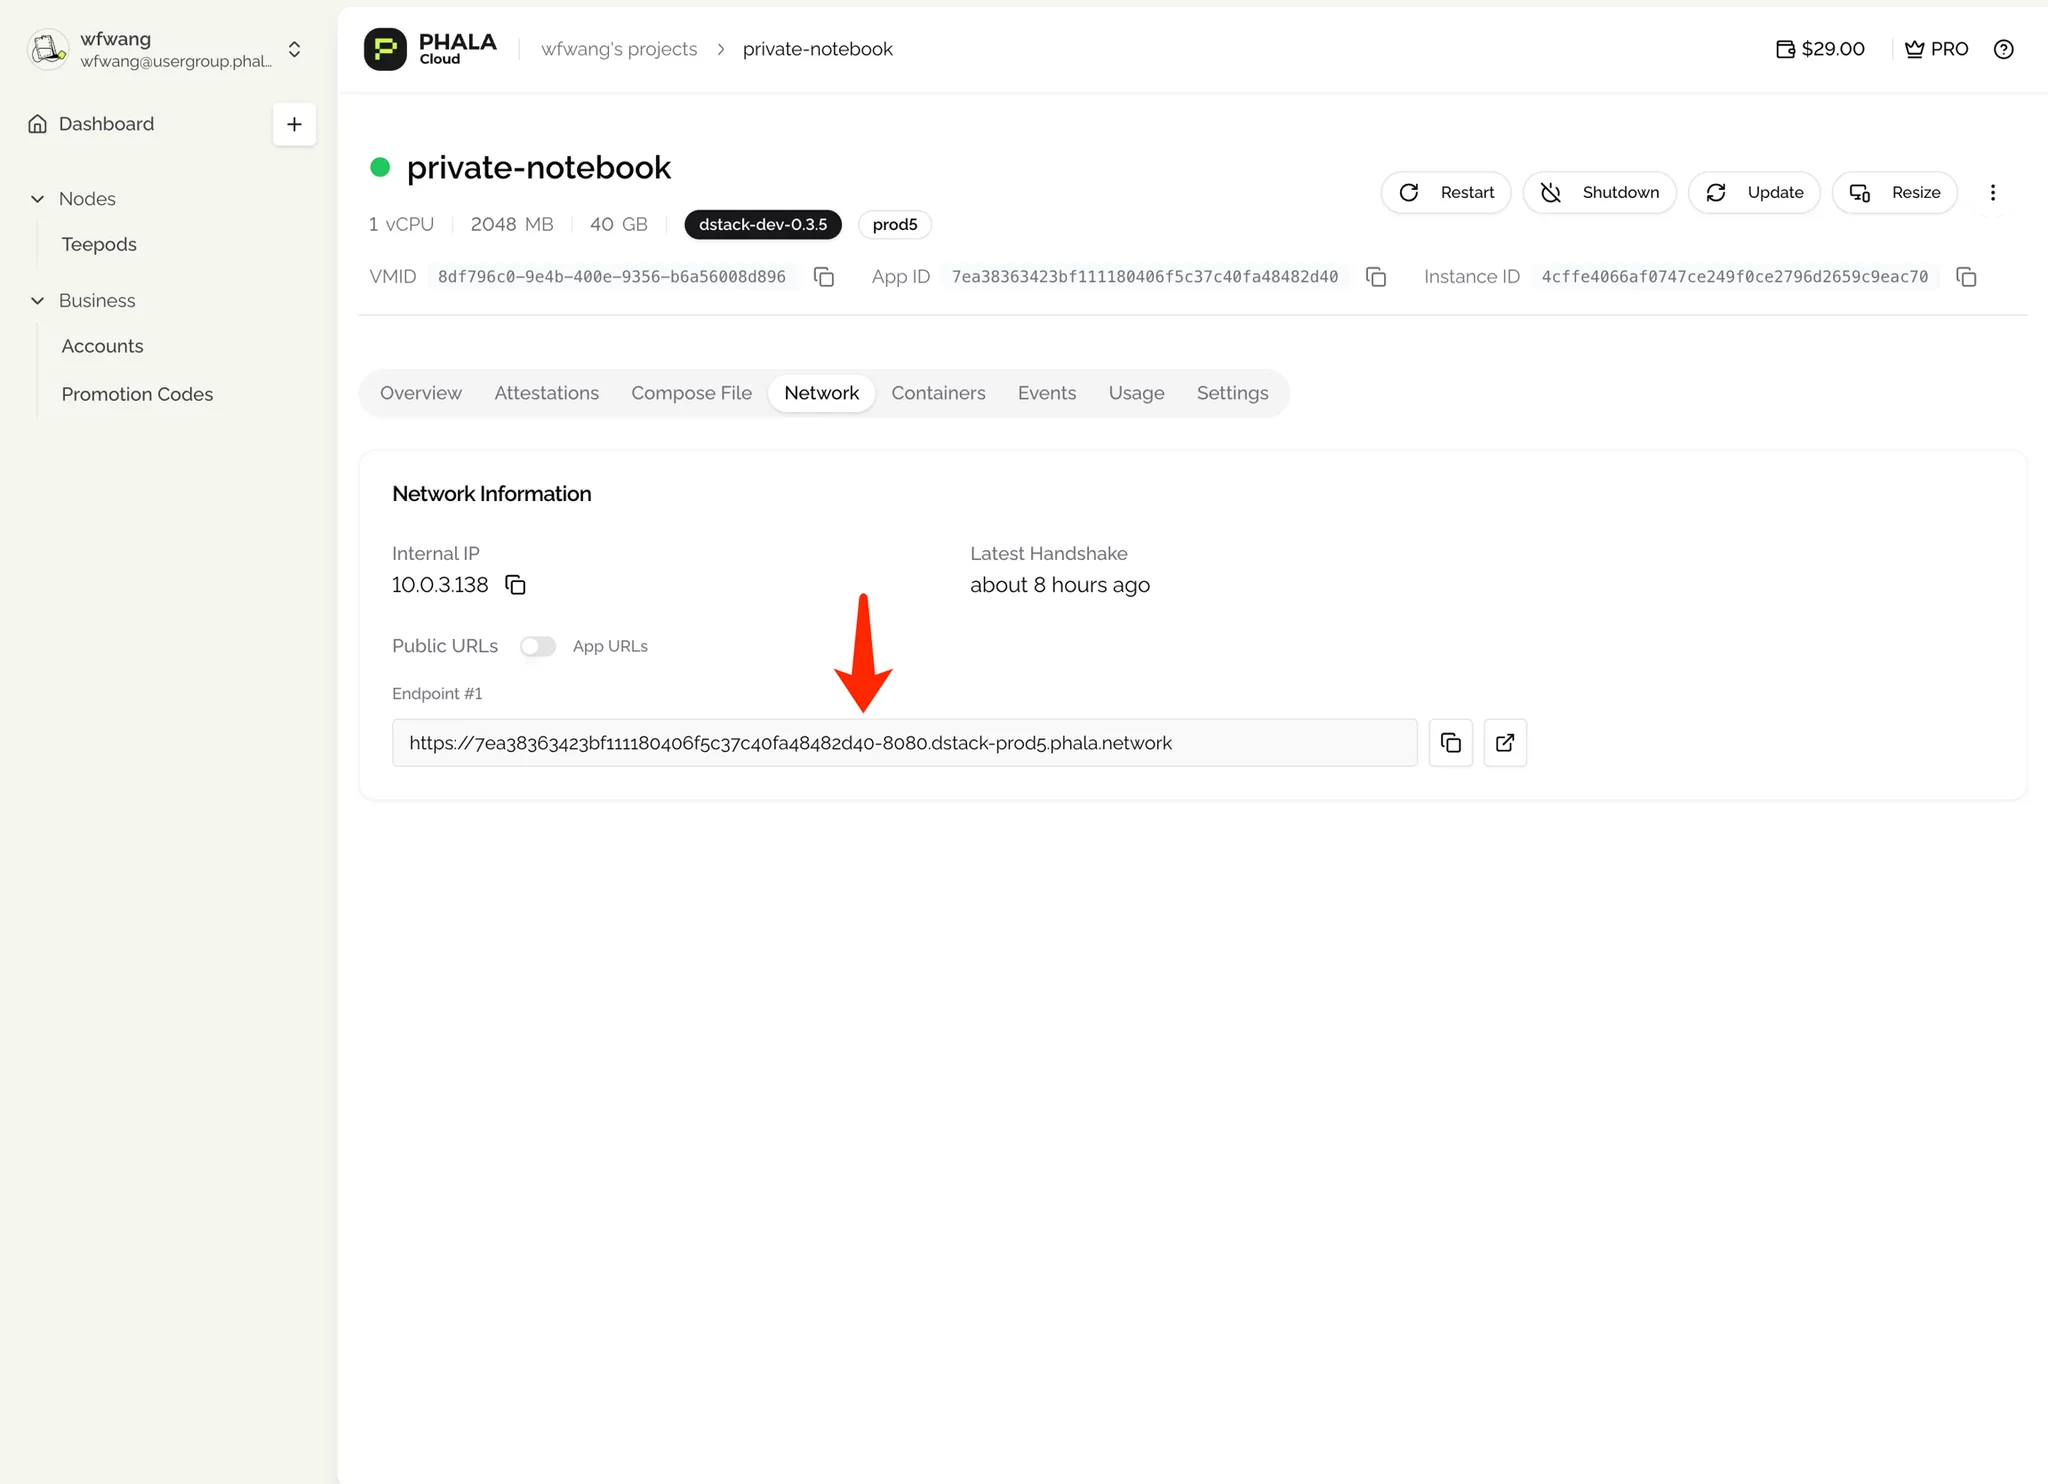
- View Service Endpoint:
Once your CVM is deployed and running, navigate to View Details → Network to find your application’s endpoint URL. The format will be something like https://[application-id]-port.dstack-prod5.phala.network, where port is the mapped port for your application.
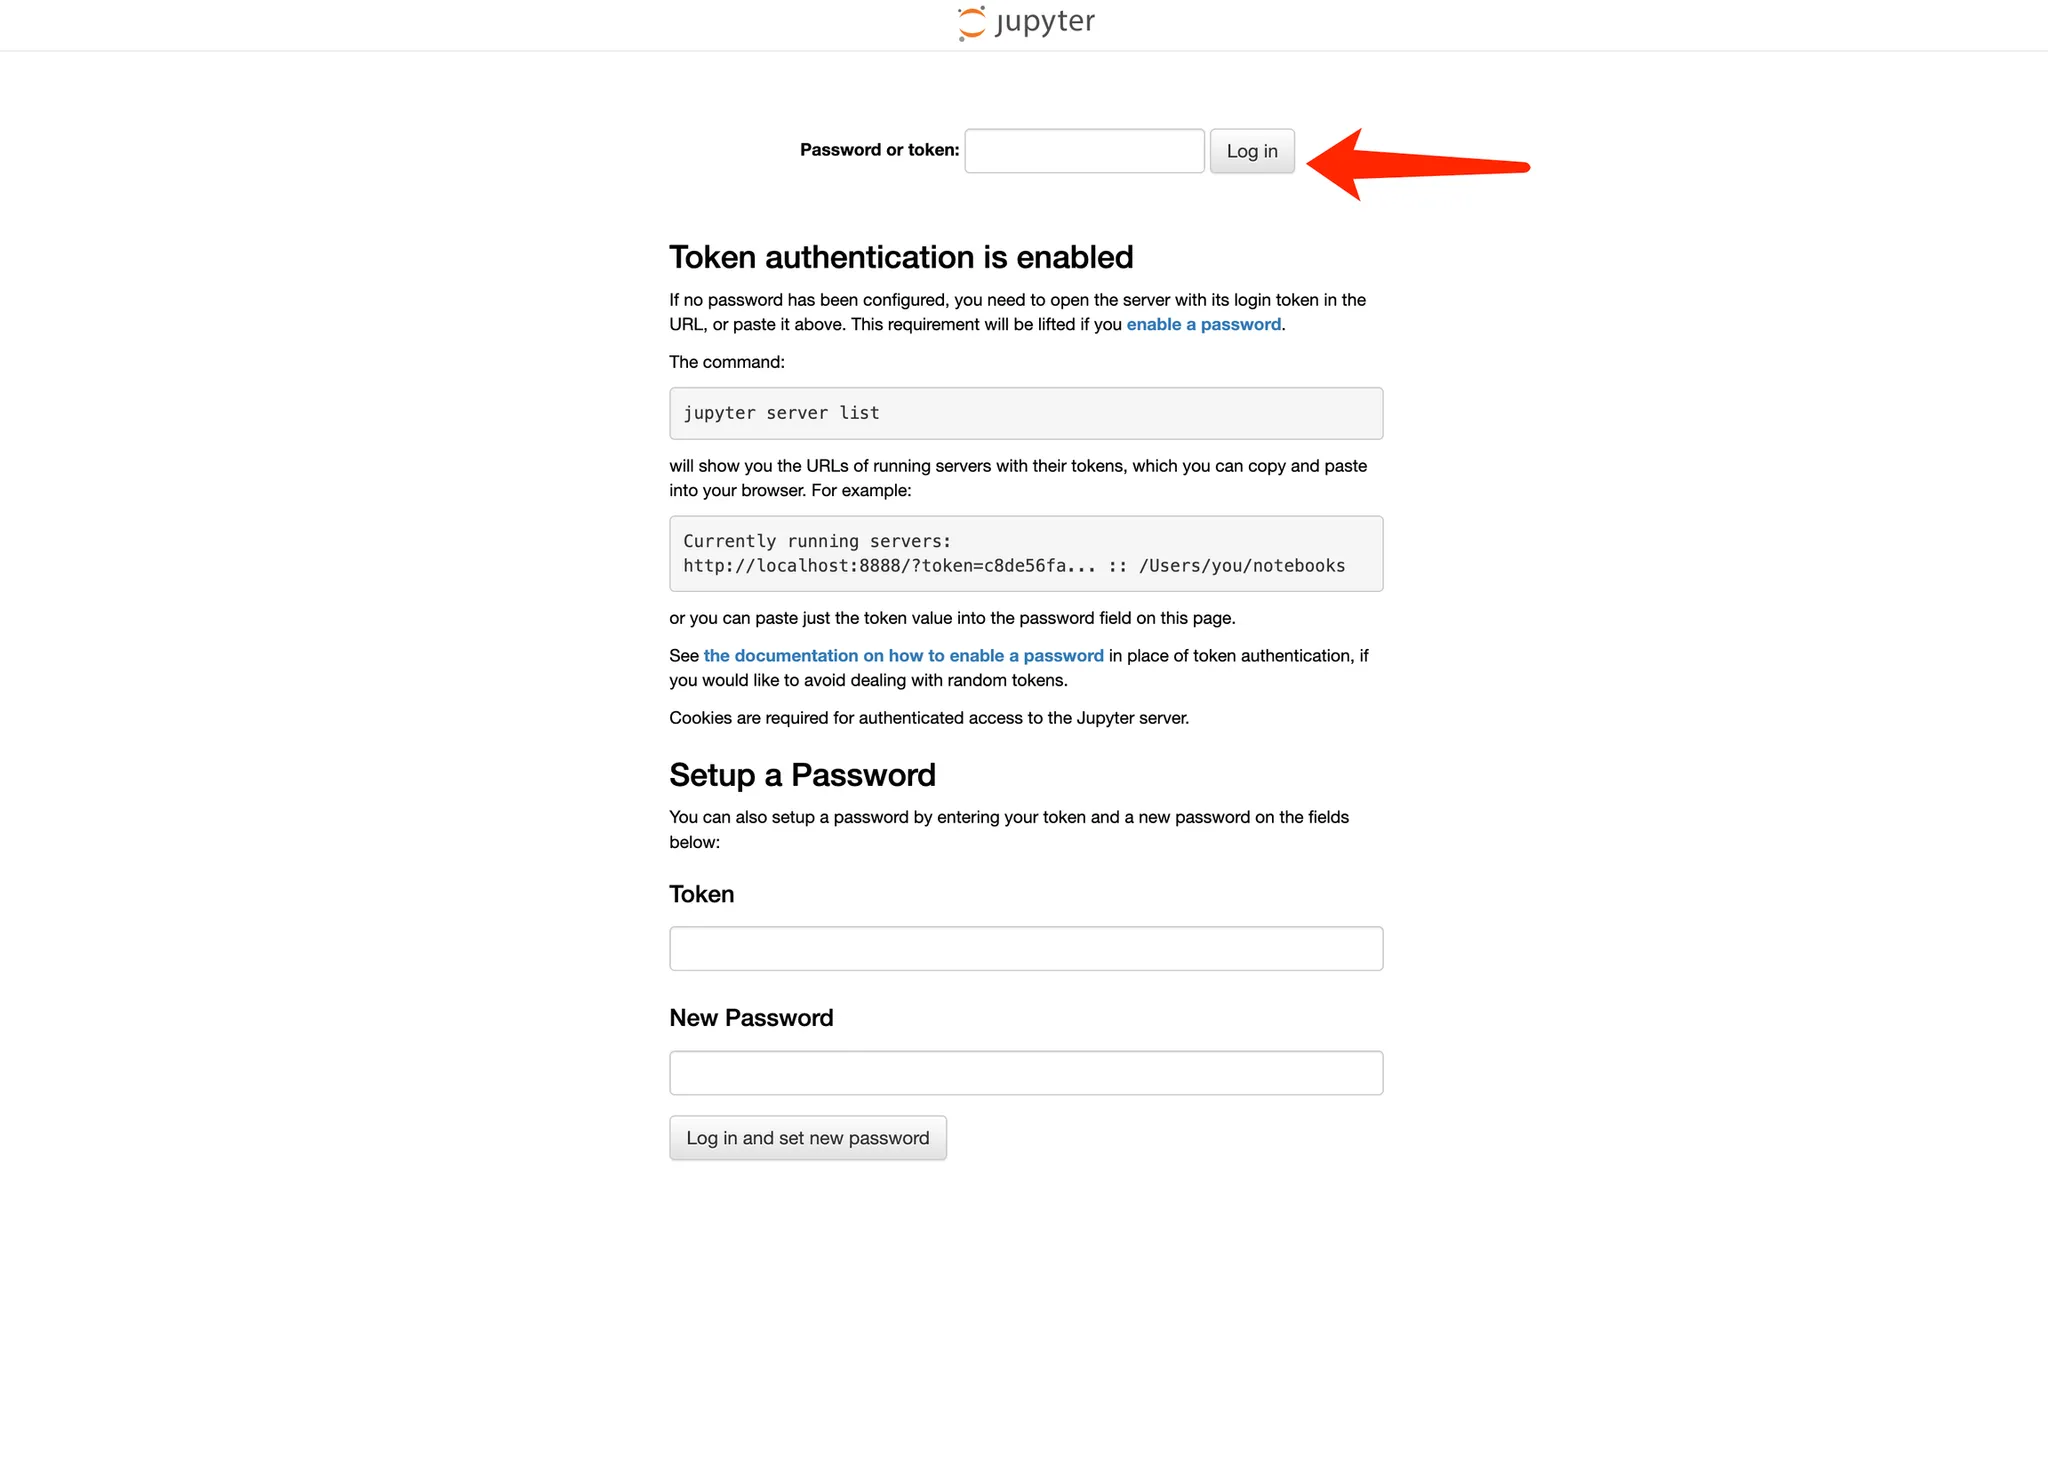
For the Jupyter Notebook example, the port is typically 8080, mapping to internal port 8888.
Open the endpoint URL in your browser and follow any prompts to access your dApp. For the Jupyter Notebook, enter the token phala when prompted. If your dApp has different access requirements, follow those accordingly.
- View Application Logs:
Under Containers → View Logs, inspect real-time logs for debugging. Here is additional documentation to help you debug your application.
2025-03-04T03:18:05.828657314Z Entered start.sh with args: start-notebook.sh --NotebookApp.token=phala
2025-03-04T03:18:05.842663875Z Running hooks in: /usr/local/bin/start-notebook.d as uid: 0 gid: 0
2025-03-04T03:18:05.842682502Z Done running hooks in: /usr/local/bin/start-notebook.d
2025-03-04T03:18:05.856699933Z Granting jovyan passwordless sudo rights!
2025-03-04T03:18:05.864340938Z Running hooks in: /usr/local/bin/before-notebook.d as uid: 0 gid: 0
2025-03-04T03:18:05.864358165Z Sourcing shell script: /usr/local/bin/before-notebook.d/10activate-conda-env.sh
2025-03-04T03:18:06.527587460Z Done running hooks in: /usr/local/bin/before-notebook.d
2025-03-04T03:18:06.527720112Z Running as jovyan: start-notebook.sh --NotebookApp.token=phala
2025-03-04T03:18:06.542227731Z WARNING: Use start-notebook.py instead
2025-03-04T03:18:07.221798177Z [I 2025-03-04 03:18:07.221 ServerApp] jupyter_lsp | extension was successfully linked.
2025-03-04T03:18:07.225295903Z [I 2025-03-04 03:18:07.225 ServerApp] jupyter_server_terminals | extension was successfully linked.
2025-03-04T03:18:07.226629073Z [W 2025-03-04 03:18:07.226 LabApp] 'token' has moved from NotebookApp to ServerApp. This config will be passed to ServerApp. Be sure to update your config before our next release.
2025-03-04T03:18:07.228942619Z [W 2025-03-04 03:18:07.228 ServerApp] ServerApp.token config is deprecated in 2.0. Use IdentityProvider.token.
2025-03-04T03:18:07.229062498Z [I 2025-03-04 03:18:07.229 ServerApp] jupyterlab | extension was successfully linked.
2025-03-04T03:18:07.231919391Z [I 2025-03-04 03:18:07.231 ServerApp] nbclassic | extension was successfully linked.
2025-03-04T03:18:07.235213471Z [I 2025-03-04 03:18:07.235 ServerApp] notebook | extension was successfully linked.
2025-03-04T03:18:07.236333327Z [I 2025-03-04 03:18:07.236 ServerApp] Writing Jupyter server cookie secret to /home/jovyan/.local/share/jupyter/runtime/jupyter_cookie_secret
2025-03-04T03:18:07.433001809Z [I 2025-03-04 03:18:07.432 ServerApp] notebook_shim | extension was successfully linked.
2025-03-04T03:18:07.447337226Z [W 2025-03-04 03:18:07.447 ServerApp] WARNING: The Jupyter server is listening on all IP addresses and not using encryption. This is not recommended.
2025-03-04T03:18:07.447791187Z [I 2025-03-04 03:18:07.447 ServerApp] notebook_shim | extension was successfully loaded.
2025-03-04T03:18:07.449649812Z [I 2025-03-04 03:18:07.449 ServerApp] jupyter_lsp | extension was successfully loaded.
2025-03-04T03:18:07.450667373Z [I 2025-03-04 03:18:07.450 ServerApp] jupyter_server_terminals | extension was successfully loaded.
2025-03-04T03:18:07.451876678Z [I 2025-03-04 03:18:07.451 LabApp] JupyterLab extension loaded from /opt/conda/lib/python3.12/site-packages/jupyterlab
2025-03-04T03:18:07.451953256Z [I 2025-03-04 03:18:07.451 LabApp] JupyterLab application directory is /opt/conda/share/jupyter/lab
2025-03-04T03:18:07.452411500Z [I 2025-03-04 03:18:07.452 LabApp] Extension Manager is 'pypi'.
2025-03-04T03:18:07.491767074Z [I 2025-03-04 03:18:07.491 ServerApp] jupyterlab | extension was successfully loaded.
2025-03-04T03:18:07.494788105Z [I 2025-03-04 03:18:07.494 ServerApp] nbclassic | extension was successfully loaded.
2025-03-04T03:18:07.497626731Z [I 2025-03-04 03:18:07.497 ServerApp] notebook | extension was successfully loaded.
2025-03-04T03:18:07.499274664Z [I 2025-03-04 03:18:07.499 ServerApp] Serving notebooks from local directory: /home/jovyan
2025-03-04T03:18:07.499368871Z [I 2025-03-04 03:18:07.499 ServerApp] Jupyter Server 2.15.0 is running at:
2025-03-04T03:18:07.499442171Z [I 2025-03-04 03:18:07.499 ServerApp] http://localhost:8888/lab?token=...
2025-03-04T03:18:07.499491353Z [I 2025-03-04 03:18:07.499 ServerApp]     http://127.0.0.1:8888/lab?token=...
2025-03-04T03:18:07.499530802Z [I 2025-03-04 03:18:07.499 ServerApp] Use Control-C to stop this server and shut down all kernels (twice to skip confirmation).
2025-03-04T03:18:07.517241317Z [I 2025-03-04 03:18:07.517 ServerApp] Skipped non-installed server(s): bash-language-server, dockerfile-language-server-nodejs, javascript-typescript-langserver, jedi-language-server, julia-language-server, pyright, python-language-server, python-lsp-server, r-languageserver, sql-language-server, texlab, typescript-language-server, unified-language-server, vscode-css-languageserver-bin, vscode-html-languageserver-bin, vscode-json-languageserver-bin, yaml-language-server
Step 4: Verify TEE Attestations
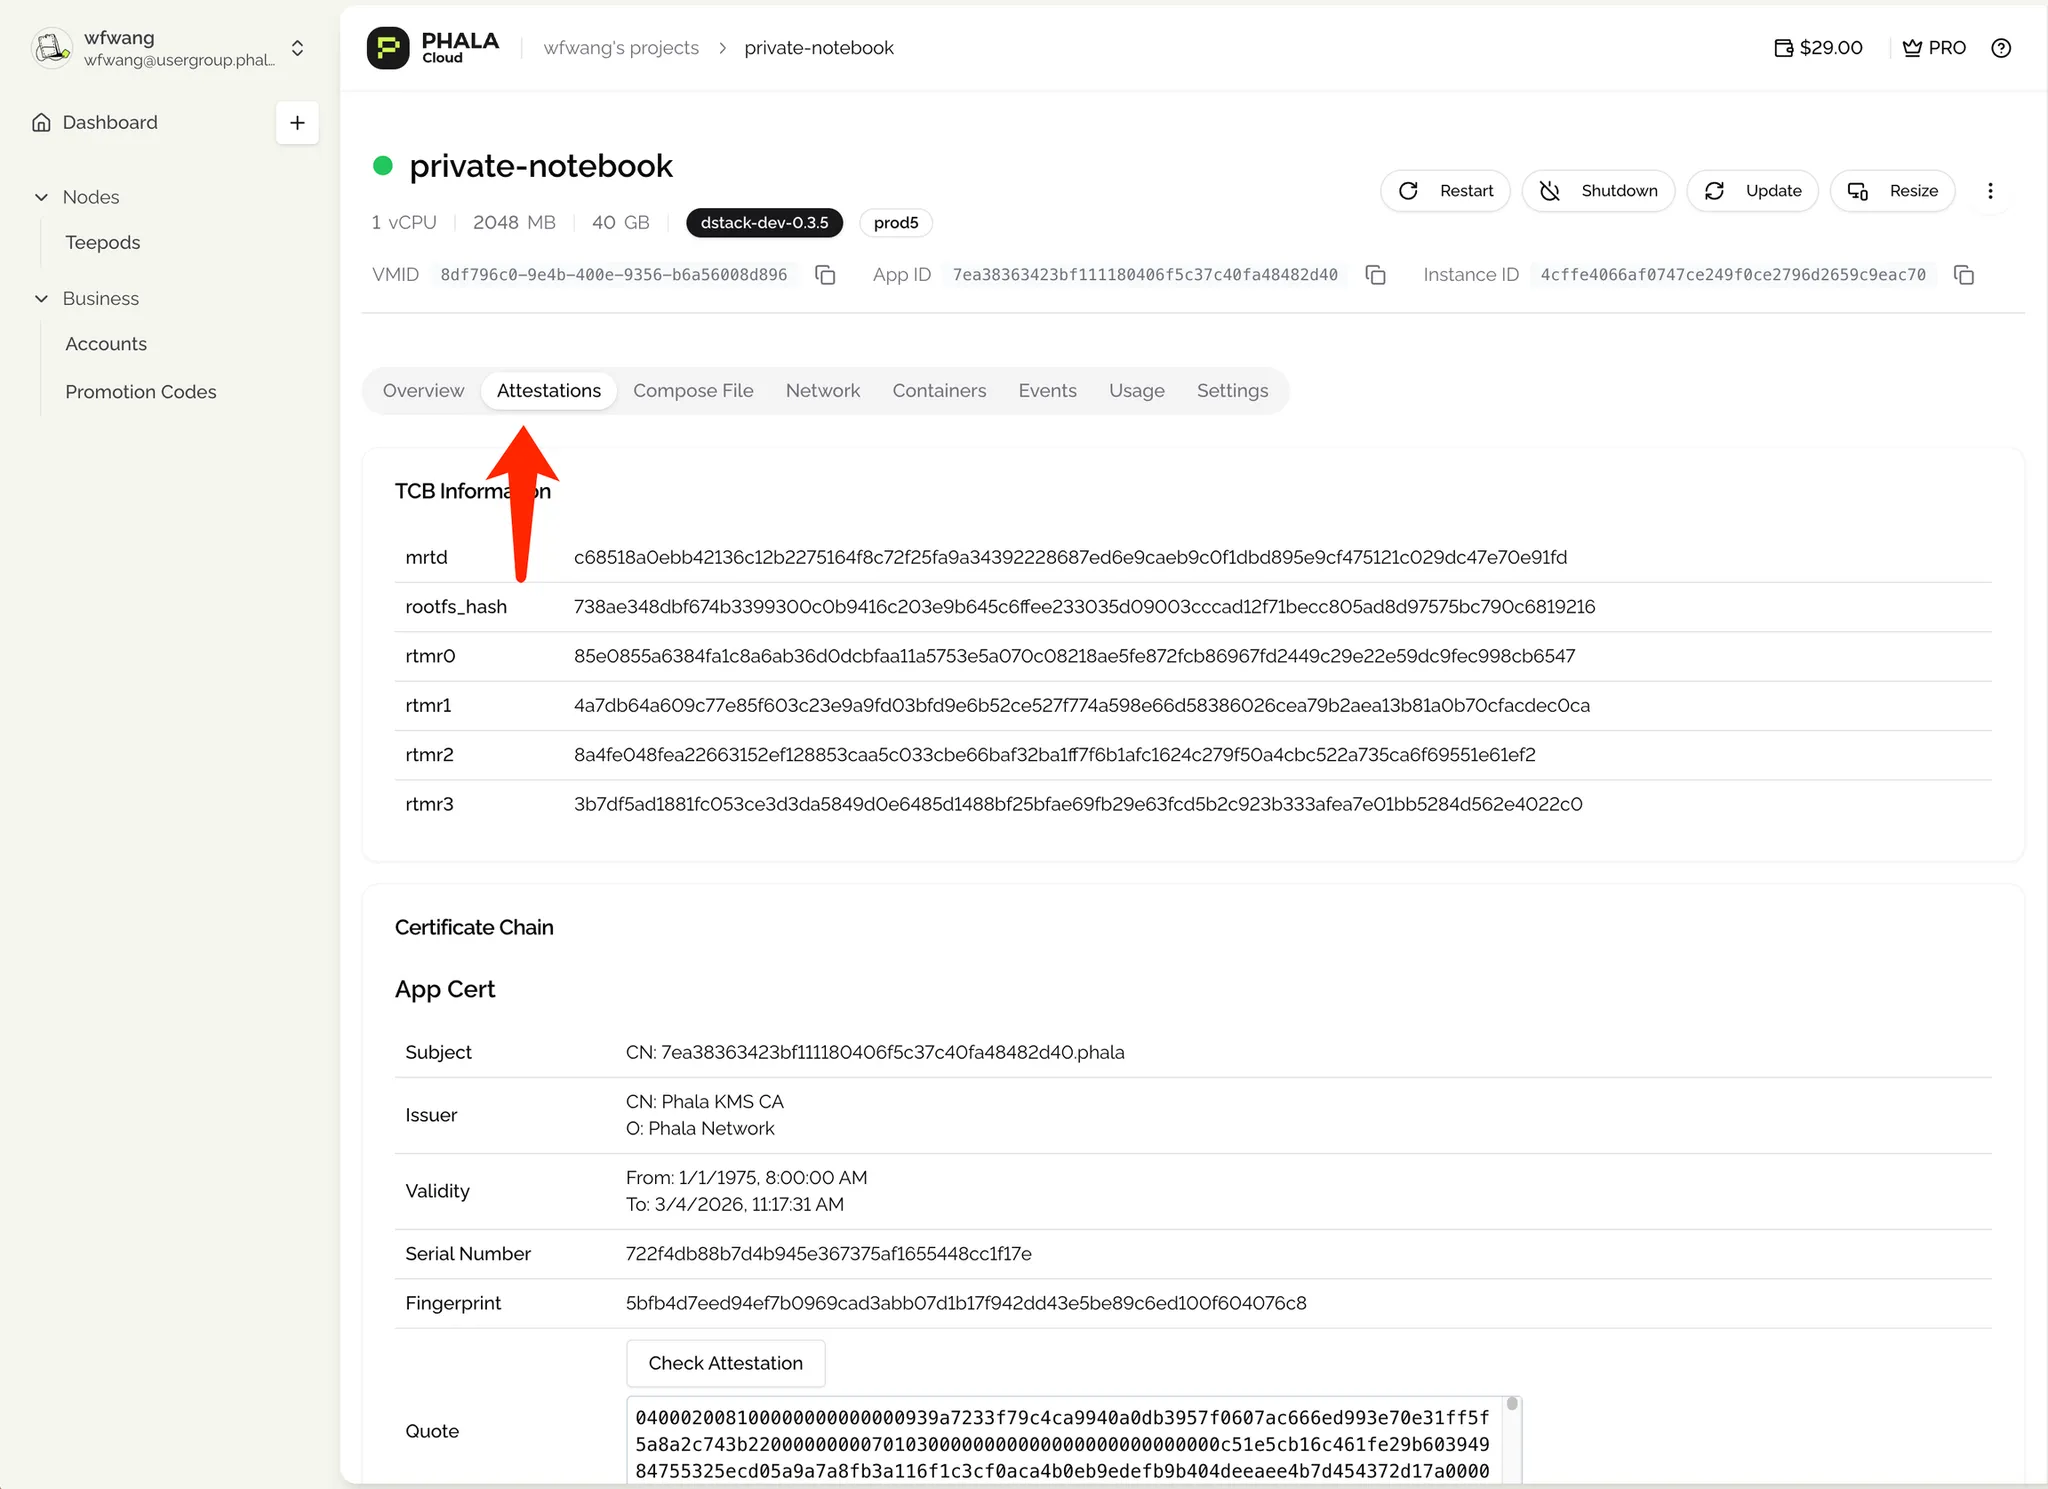
- To confirm that your dApp is running in a genuine TEE, go to View Details → Attestations.
- Click Check Attestations to view the Remote Attestations (RA) report via Quote Explorer. This provides cryptographic proof of the TEE’s integrity.
- This step is crucial for building trust, especially when sharing your dApp with clients or partners.
Customizing for Other dApps
While this guide uses a Jupyter Notebook as an example, you can deploy any Dockerized dApp on Phala Cloud. Here’s how:
- Prepare your dApp’s Docker Compose file, defining services, networks, and volumes as needed.
- Select the appropriate template if available, or use a custom Docker image.
- Set necessary environment variables specific to your dApp.
- Monitor the deployment via Serial Logs to ensure it starts successfully.
- Access your dApp via the provided endpoint URL, following any specific access instructions for your application.
For instance, if you’re deploying an AI agent, you might use a different template or a custom image with the AI model and necessary dependencies.
Next Steps
Now that your dApp is live on Phala Cloud, here are some ways to further enhance your project:
- Migrate Existing Apps: Follow the Migration Guide to port your existing workloads to TEEs.
- Build AI Agents: Use the no-code Eliza Agent Builder to create AI workflows securely.
- Scale Securely: Explore more use cases like auto-scaling and FHE/MPC node deployment.
Wrap-up
Phala Cloud simplifies confidential computing with TEE guarantees, cost transparency, and developer-friendly tooling. By combining Docker’s flexibility with Phala’s attestation framework, you can deploy dApps or other workloads that are secure by default.
Ready to build?
- Start by signing up here: Phala Cloud Registration
- Read the full Phala Cloud doc: Phala Cloud Documentation